It’s time to start a new project, and the first question most people ask is “What camera should I use?” While professional cinematographers grimace when novice directors always want the latest and greatest camera, you should let the project decide the camera – not the hype. Sure, the Alexa, Red Dragon, and BlackMagic all have a lot of sex appeal, but are the the right choice for the production you’re shooting?
When RED One was initially released, early adopters experienced overheating, codec incompatibility, and image problems when shooting in tungsten light. It took over a year to resolve the issues, but cinematographers and their crews needed to change the shooting schedule and filmmaking process to adapt to these problems. The process was a headache, but the marketing campaign was so effective that many filmmakers only wanted to shoot on RED cameras, simple to bask in the glamour of having one on set.
In addition to the camera itself, consider the lenses and accessories – which can be more expensive to rent than the camera body. AC adapters, batteries, recording media, matte boxes and follow focuses, monitor support, and tripod heads all vary in cost based on the camera you choose.
When choosing the ideal camera package for your production, consider the following:
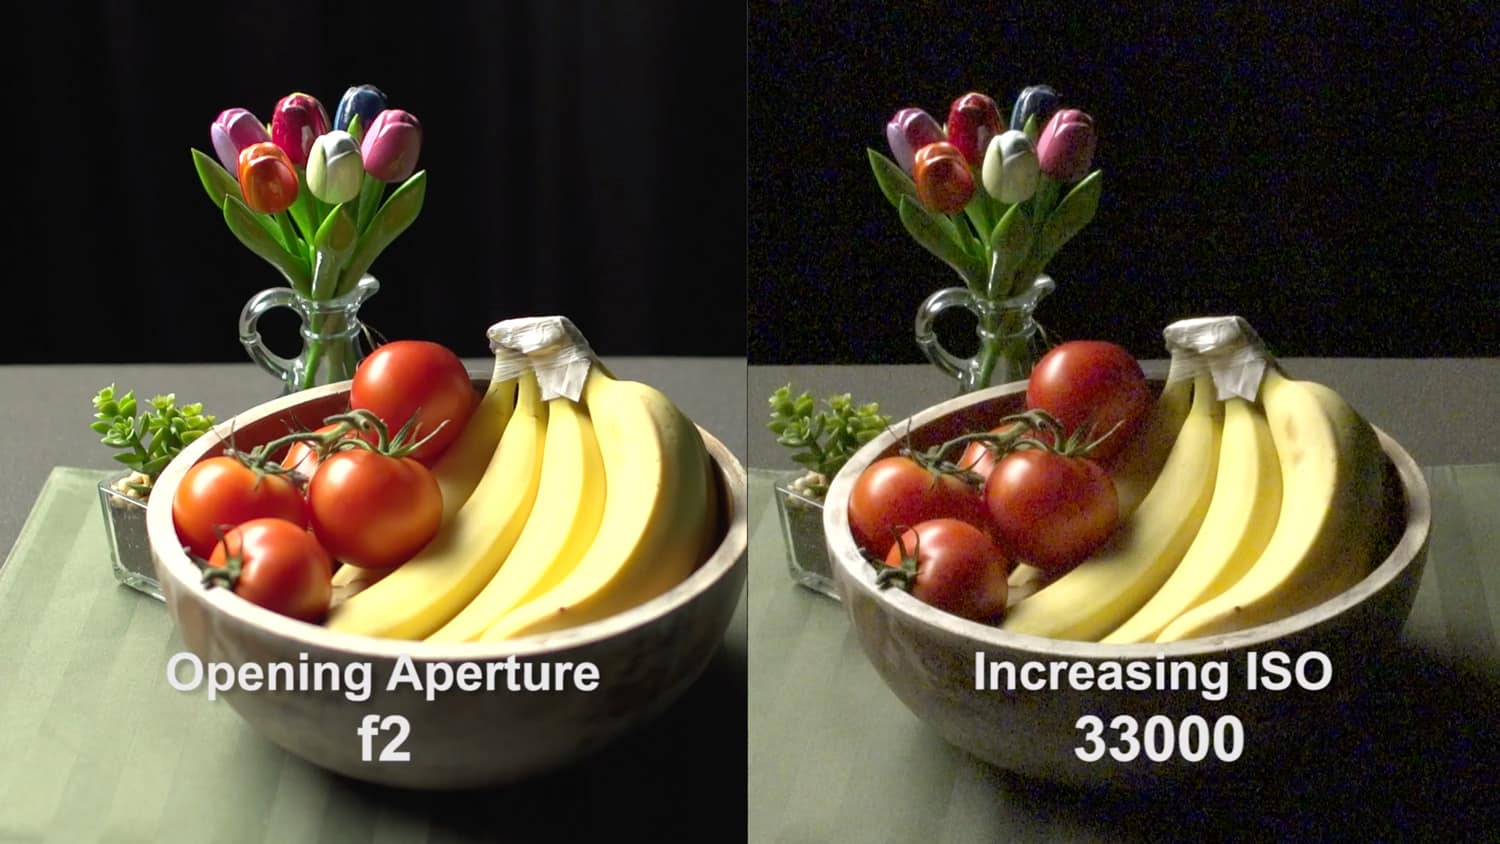
- Determine the style of your movie – Renting a high-end 2k or 4k camera may be great for an action movie or a sprawling epic with lush vistas and sweeping visuals, but is it the best choice for a character drama in which you’ll be framing close-ups of the actors for most of the movie? Acquiring in 4k resolution may sound like a great idea until you realize that you can see every pore, wrinkle, and imperfection on your actor’s face in astonishing clarity. Will you need to spend money in the editing room softening or reducing the resolution of the image? Can you afford to build sets to the degree of detail necessary to look good in 4k?
- Determine the exhibition format – I am constantly surprised by how many filmmakers choose high-end camera formats when the final product is output to standard definition DVD or streamed over the Internet. If you’re planning on a theatrical release or distribution on Blu-Ray, then higher resolution formats are perfect. For lower resolution deliverables, 720p or 1080p are more appropriate, less expensive options.
- Ask the cinematographer’s advice – All too often, cinematographers are hired based on the camera package they own. Instead, hire a cinematographer for his or her skills, and rely on his expertise and suggestions when choosing the camera.
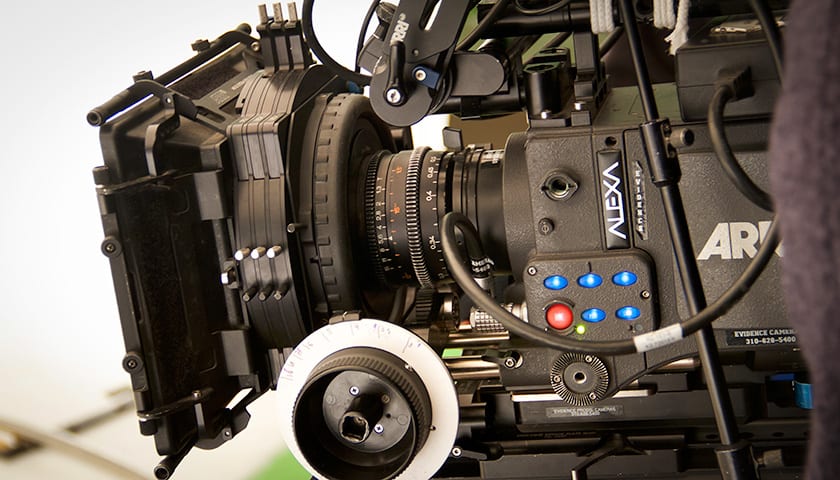
- Determine the post-production cost – Consider the costs of data storage, transfer, back-up, and editing costs when choosing a camera format. The costs of working with Panasonic’s P2 DVCPro HD format are merely the price of an off-the-shelf hard drive and a basic home computer, whereas working with uncompressed footage shot on an Arri Alexa requires editing systems powerful enough to handle the data workflow. Although you may be able to edit on your home computer, the number of hard drives necessary to store and backup the footage can get costly.
Overall, consider the costs of the camera, accessories, and workflow when budgeting your next project. It will not only help you production look better, but you wallet happier.