


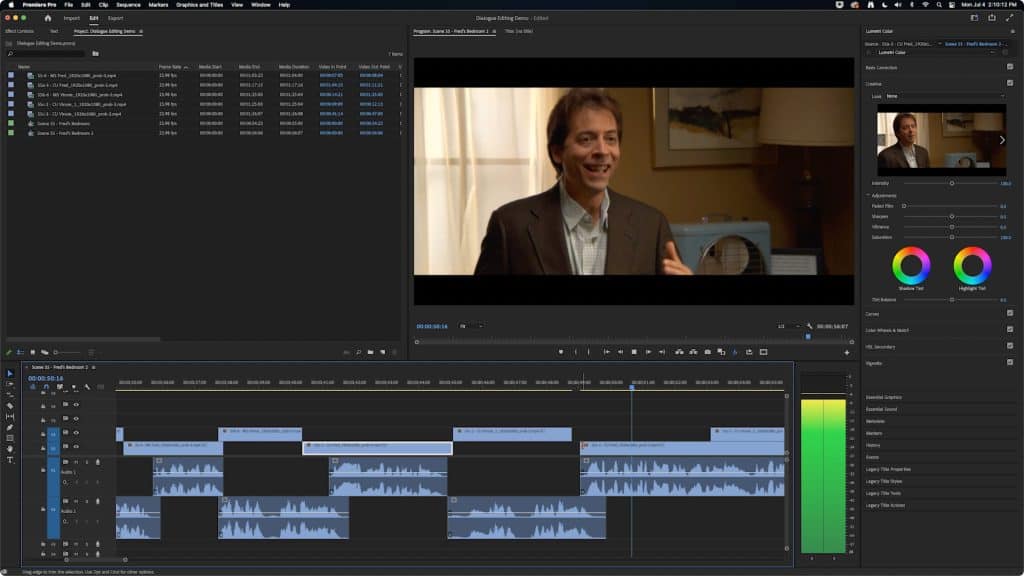
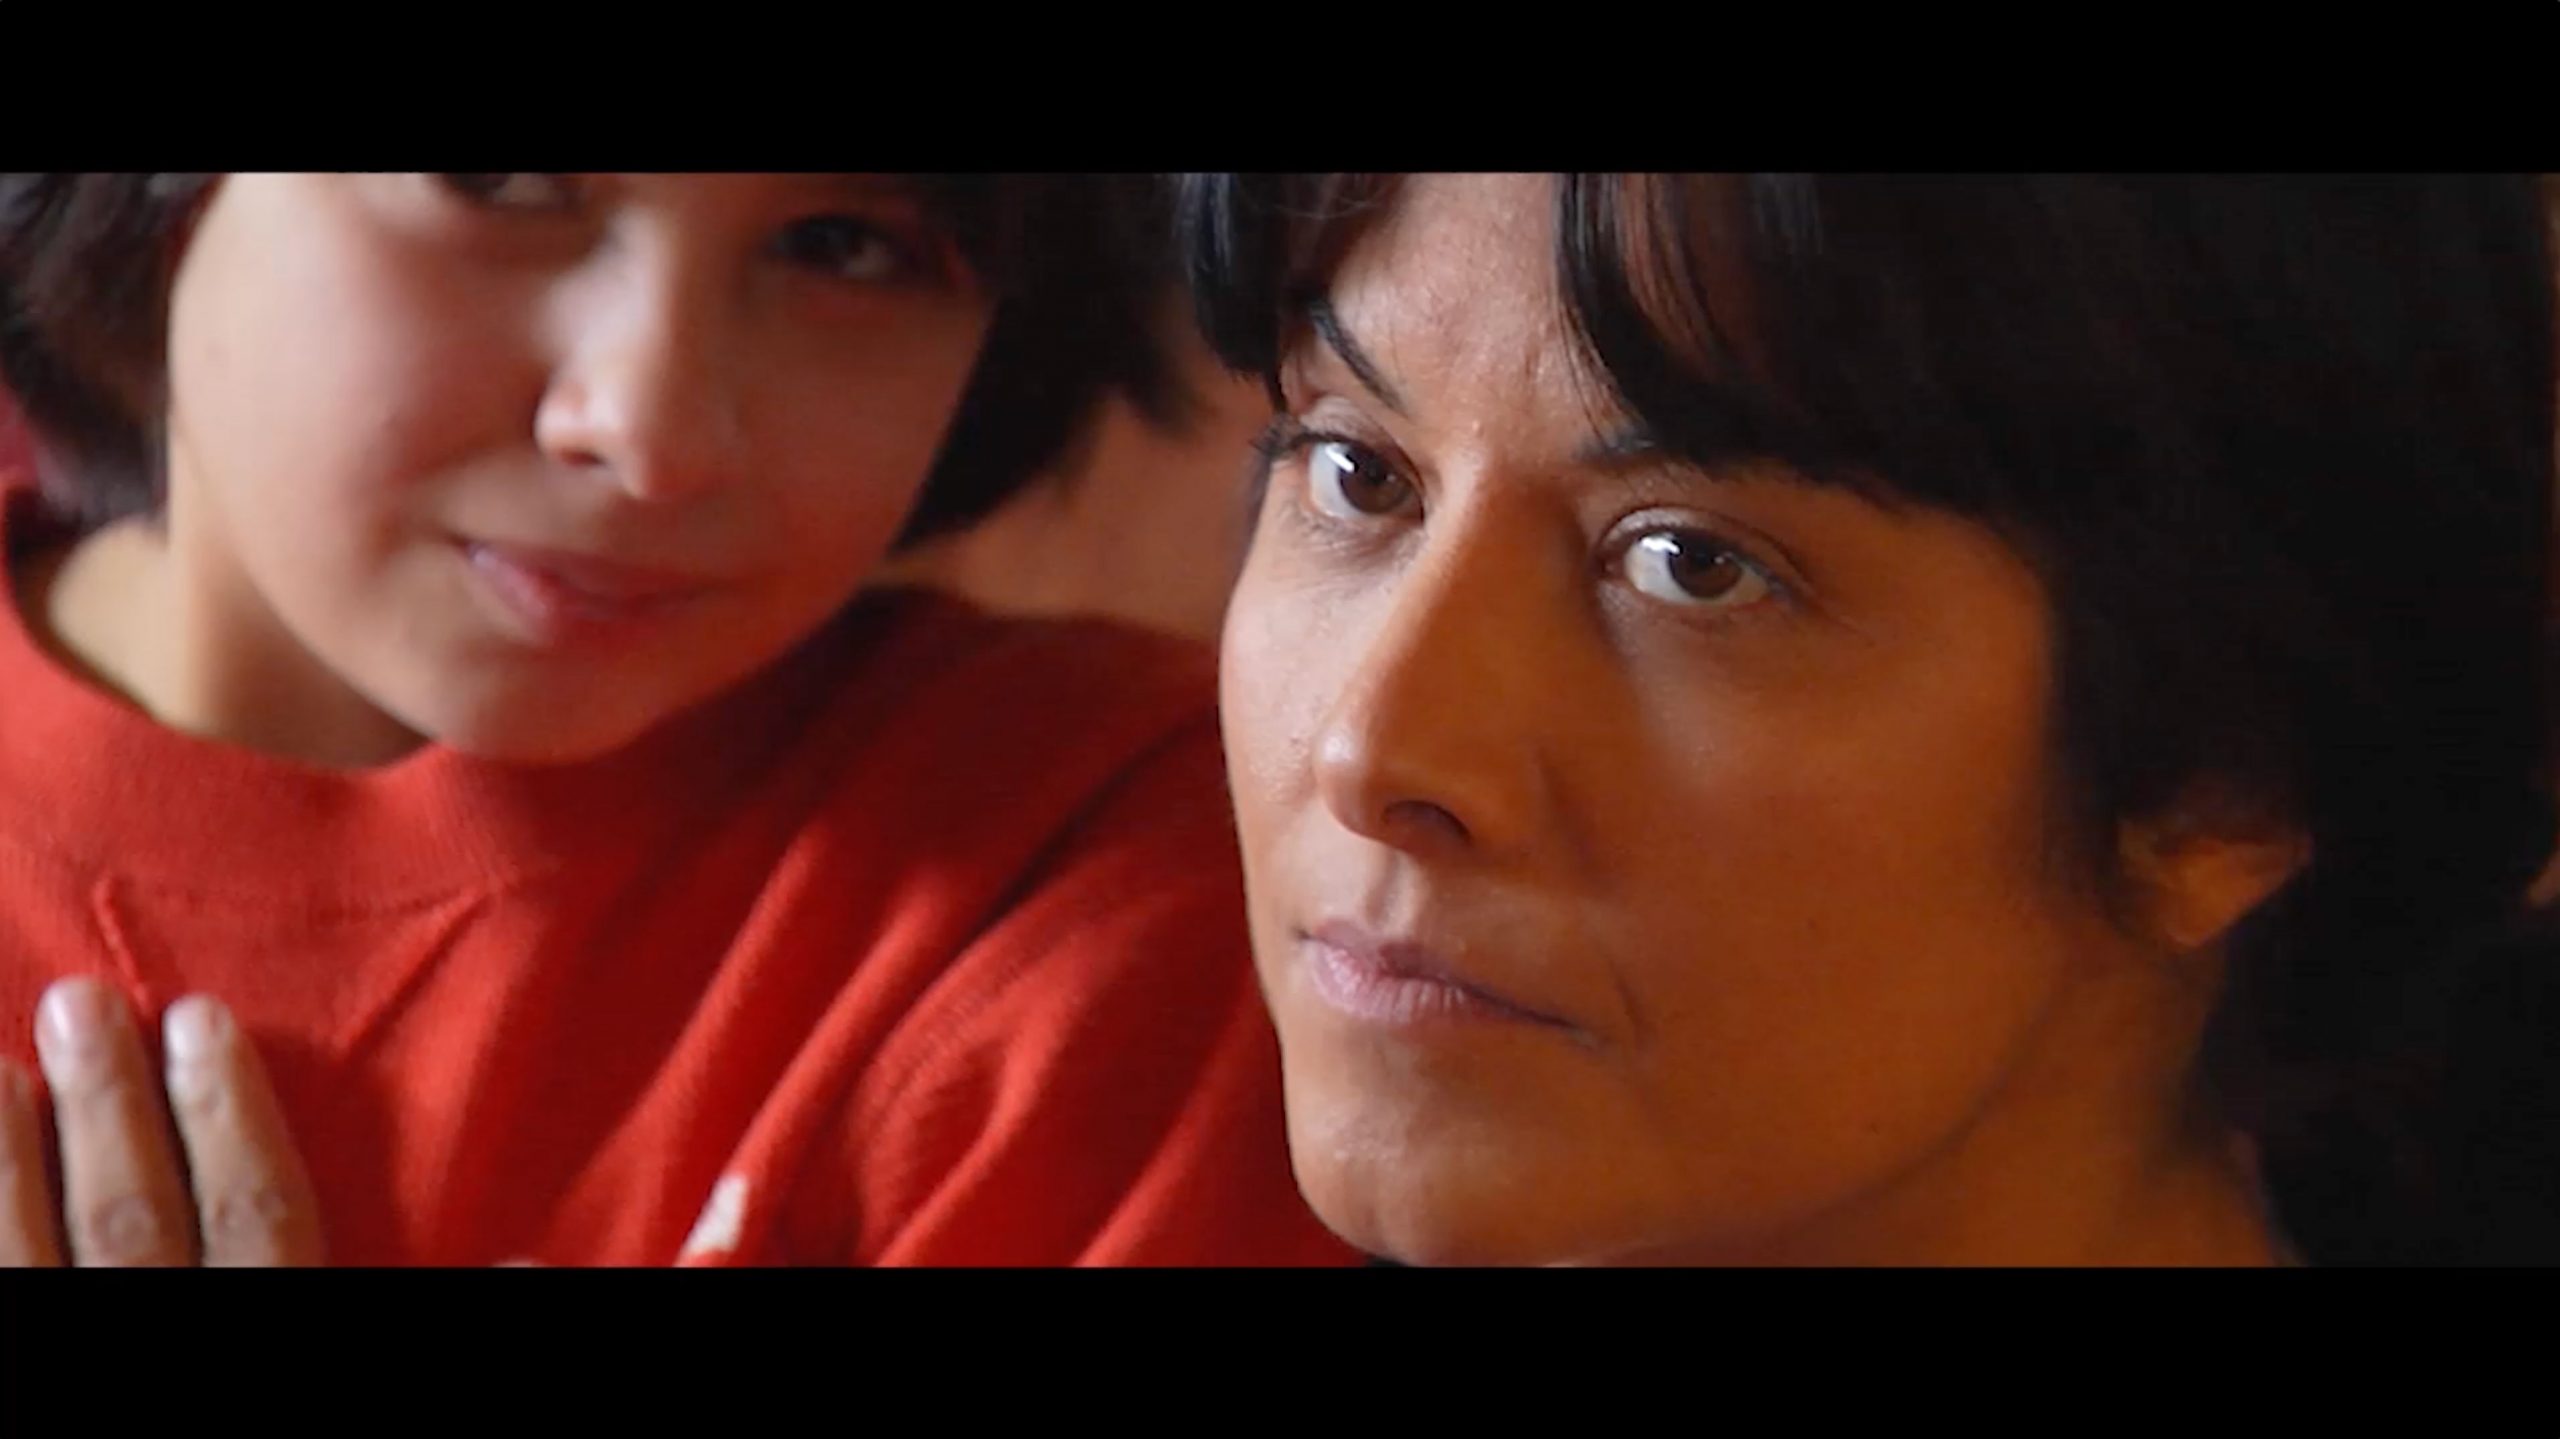
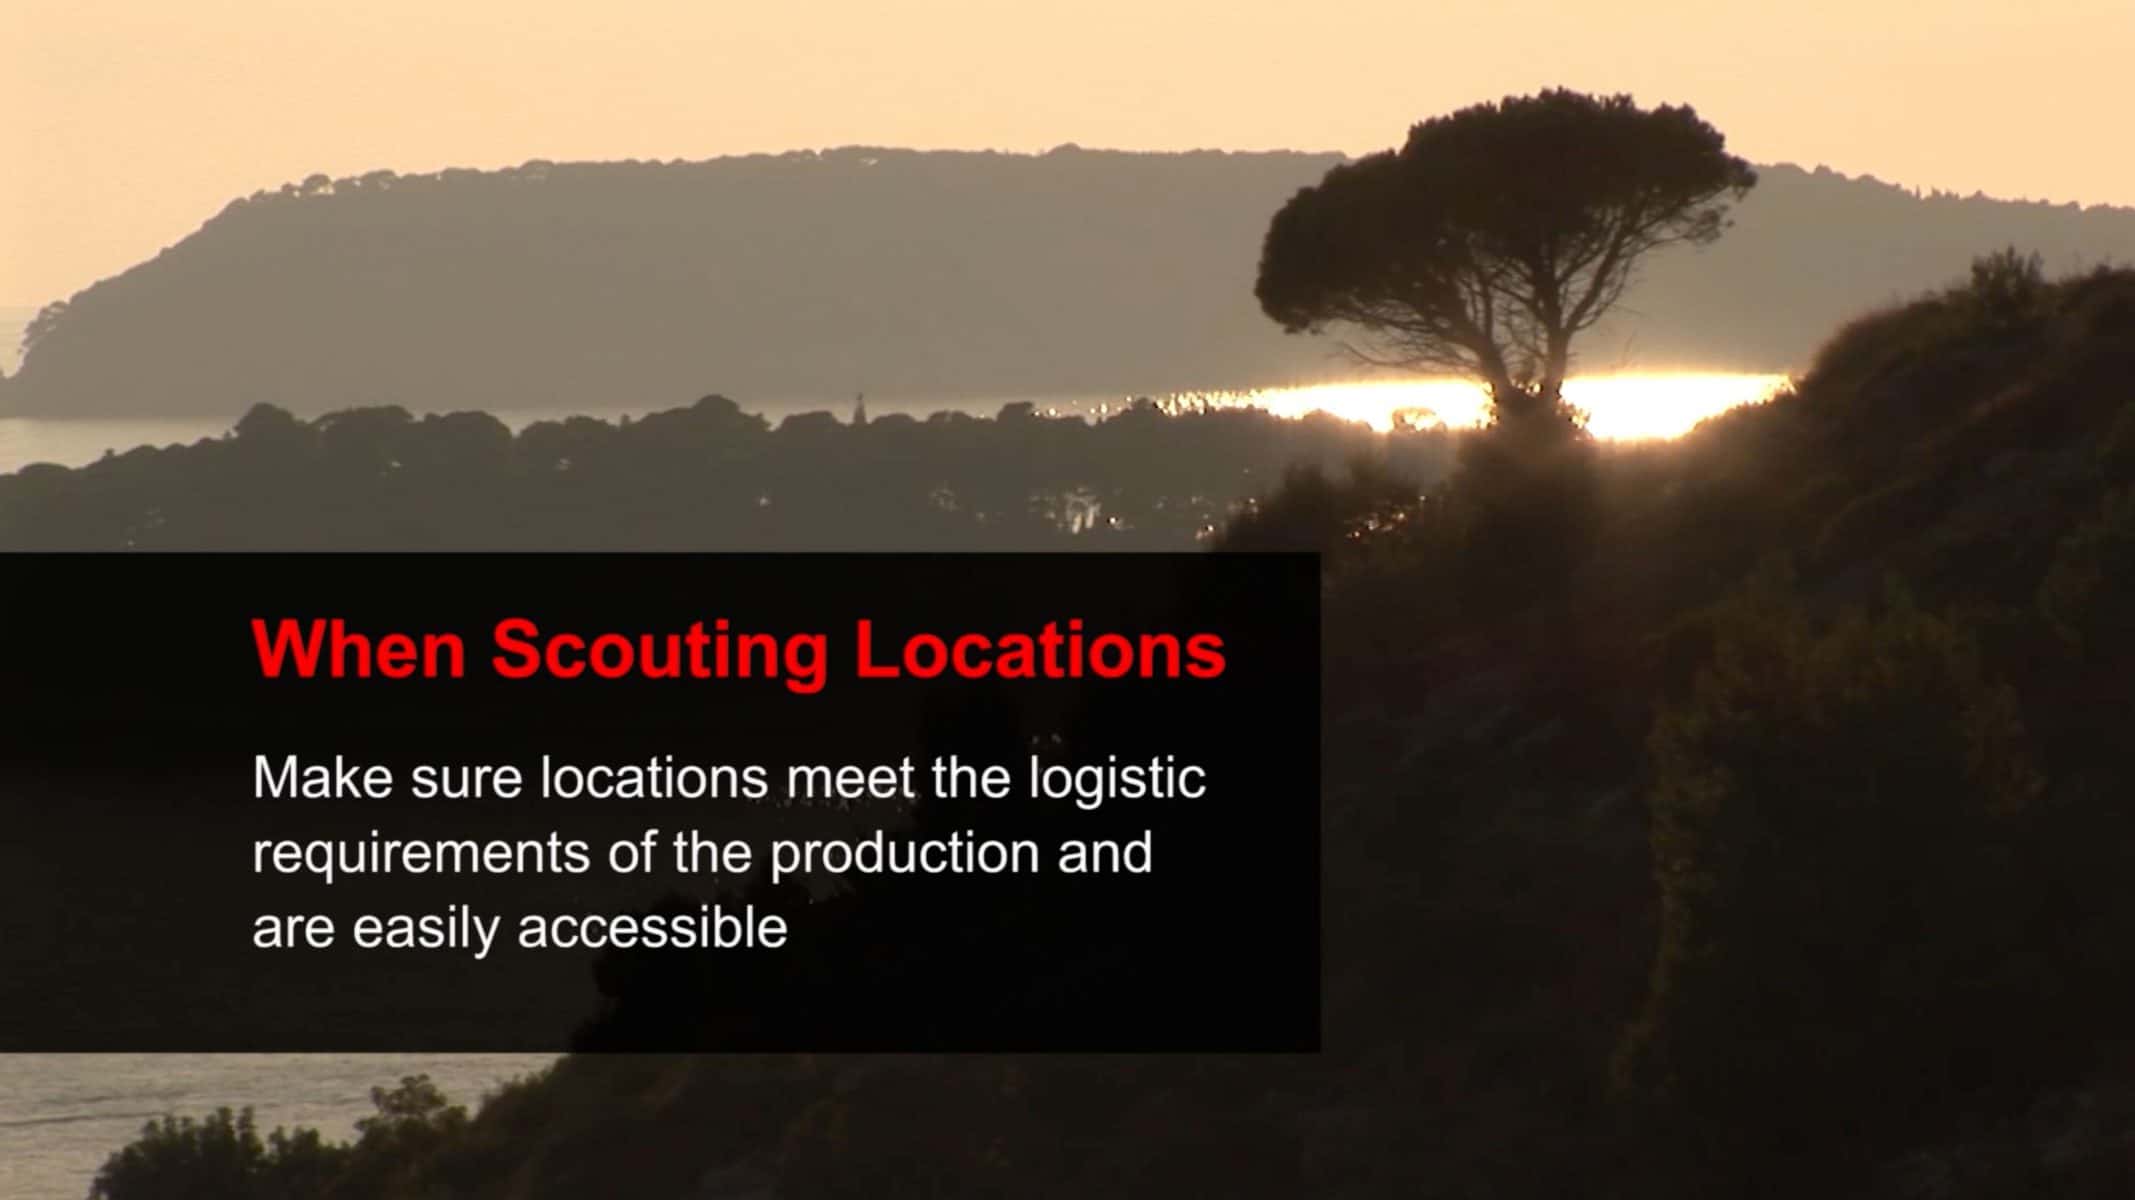
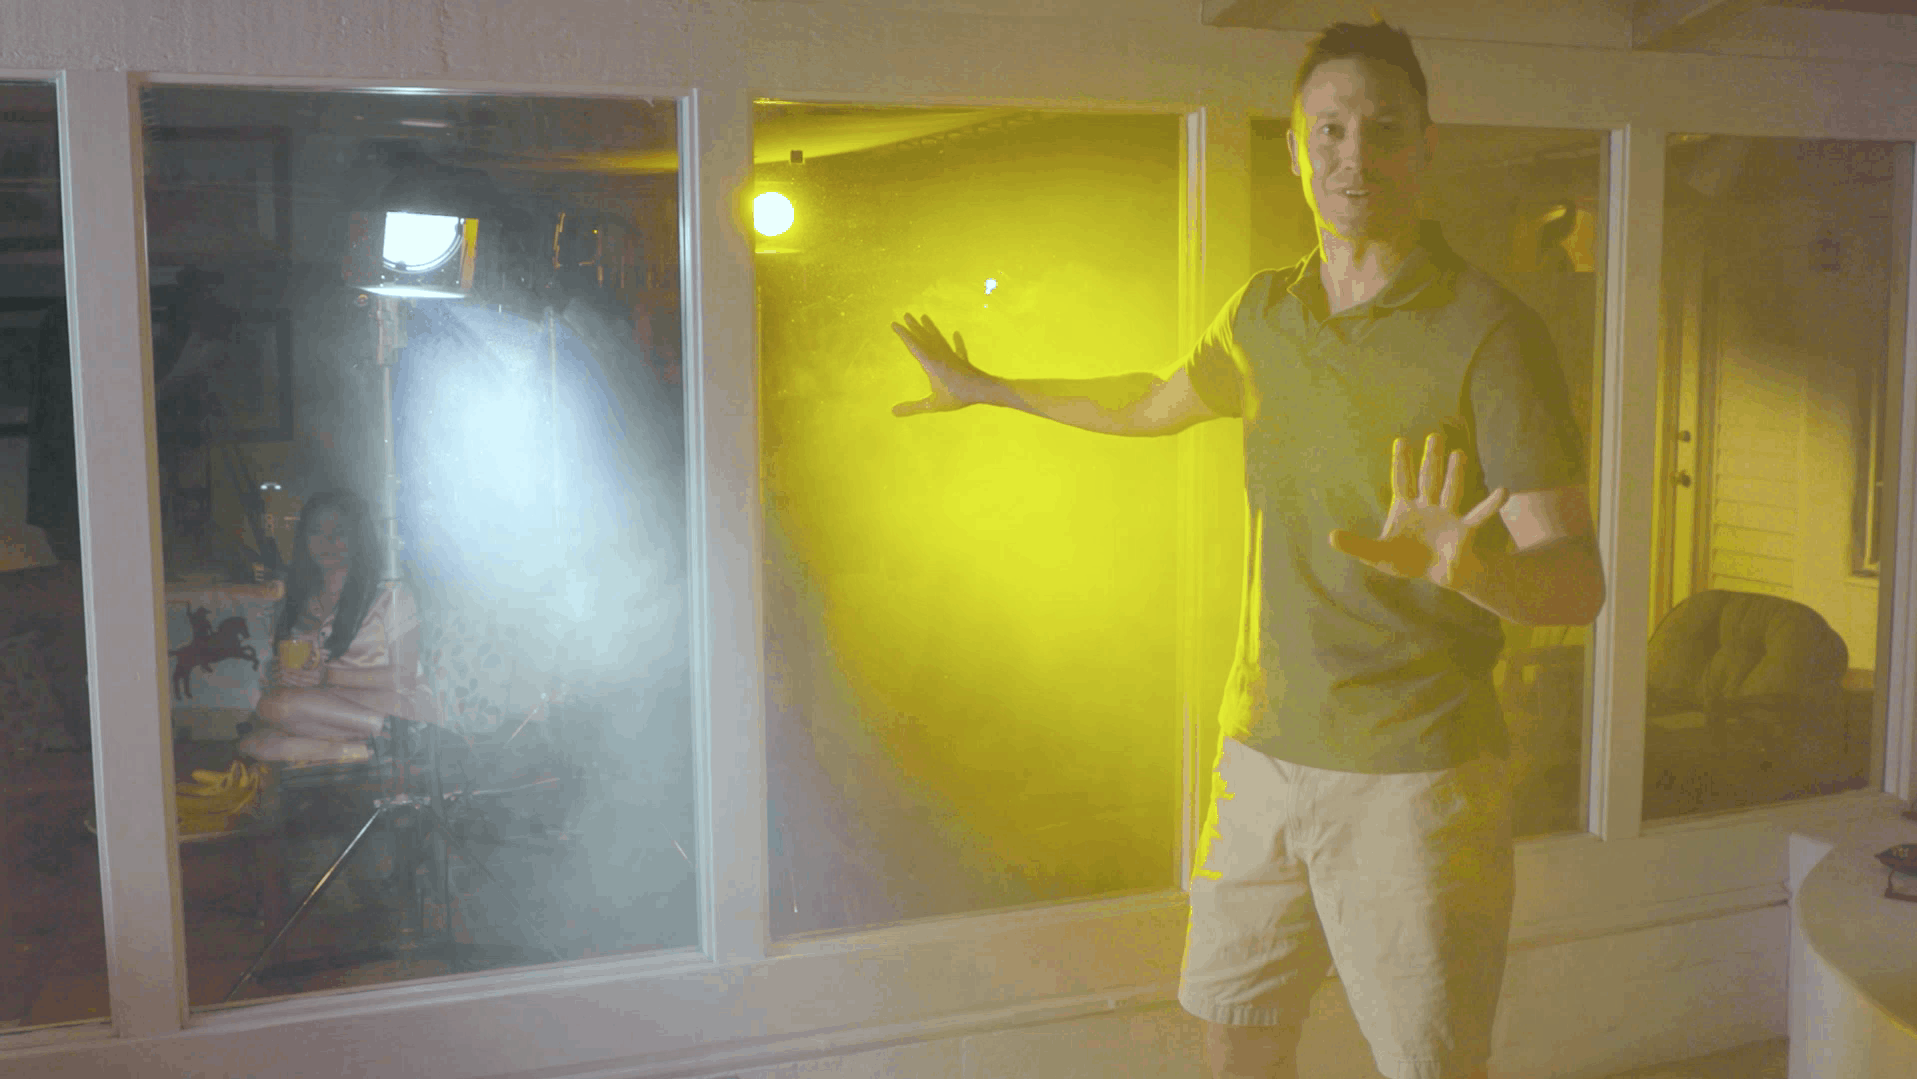
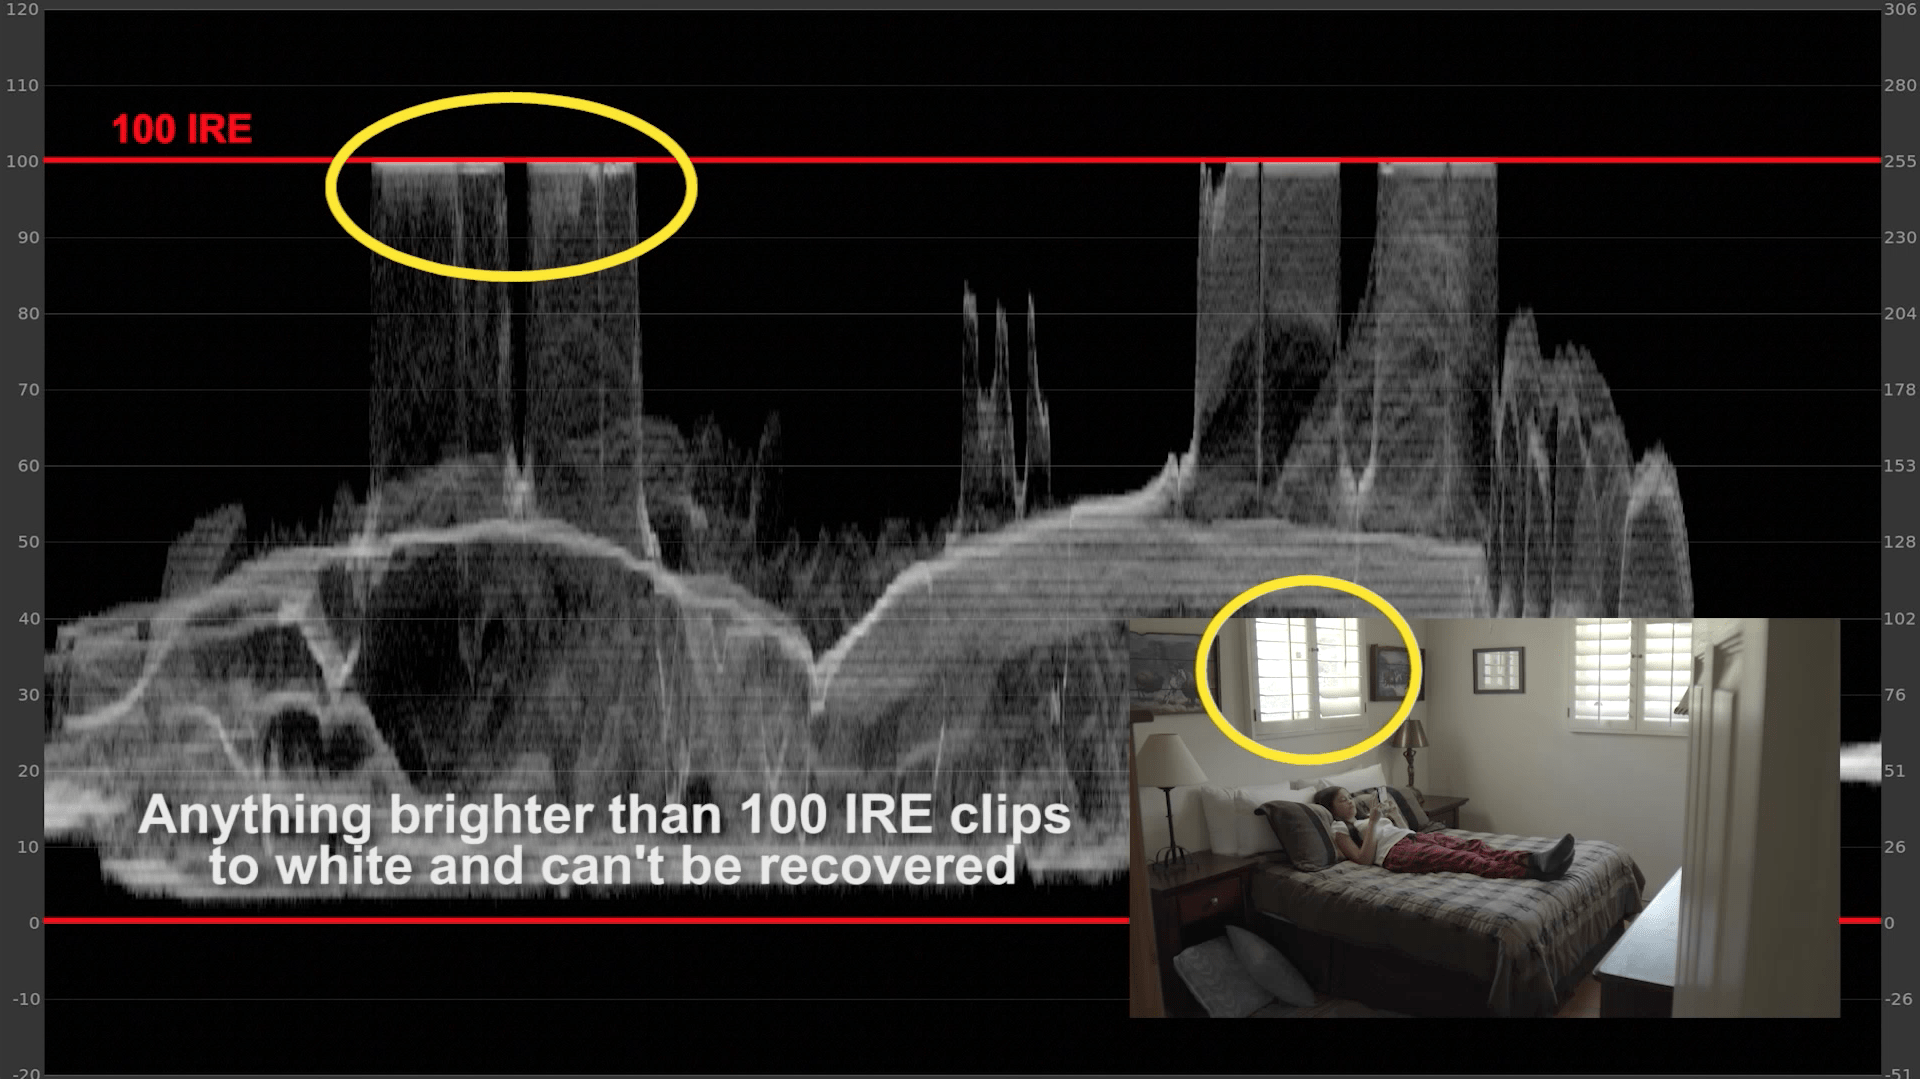
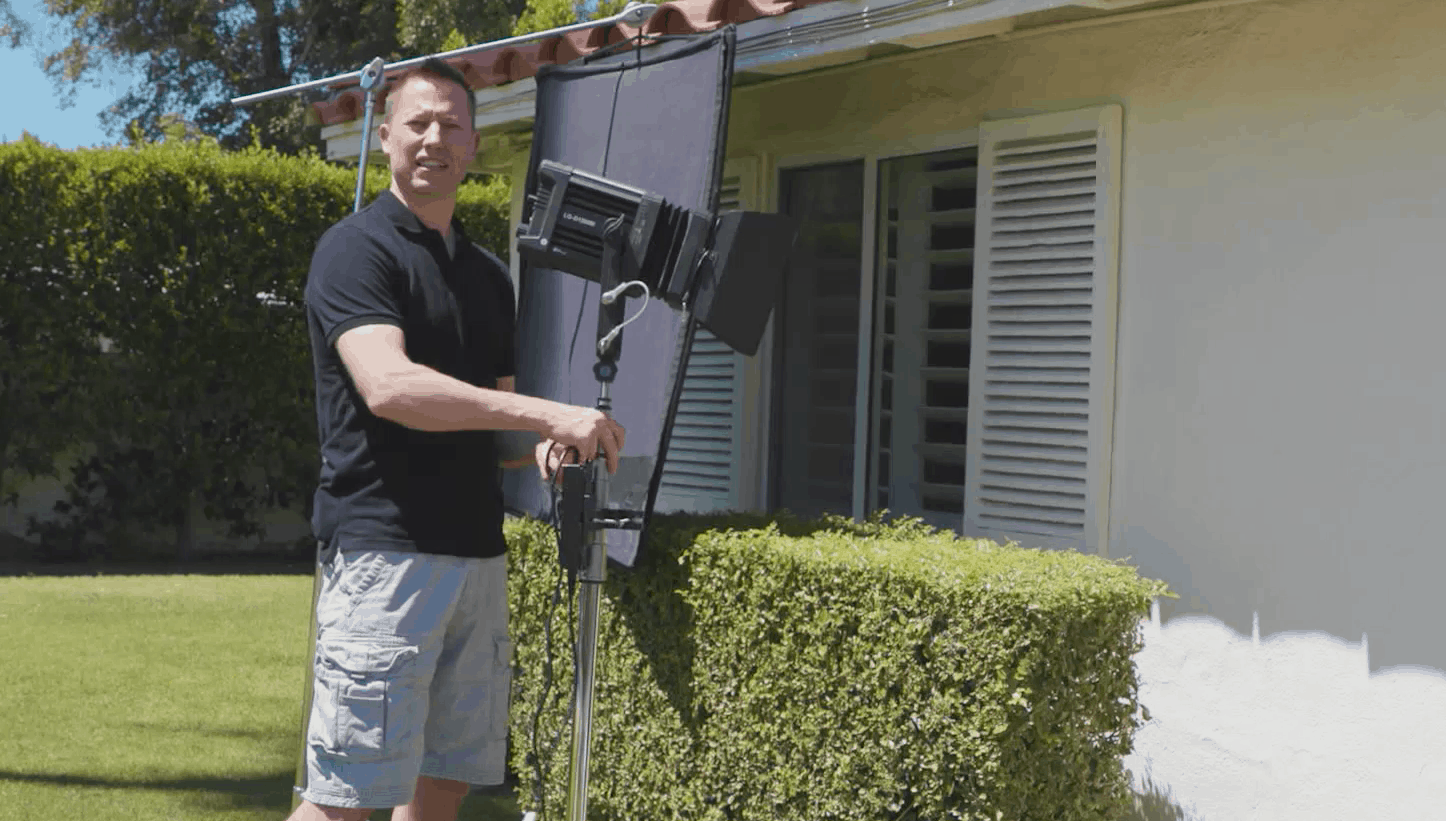
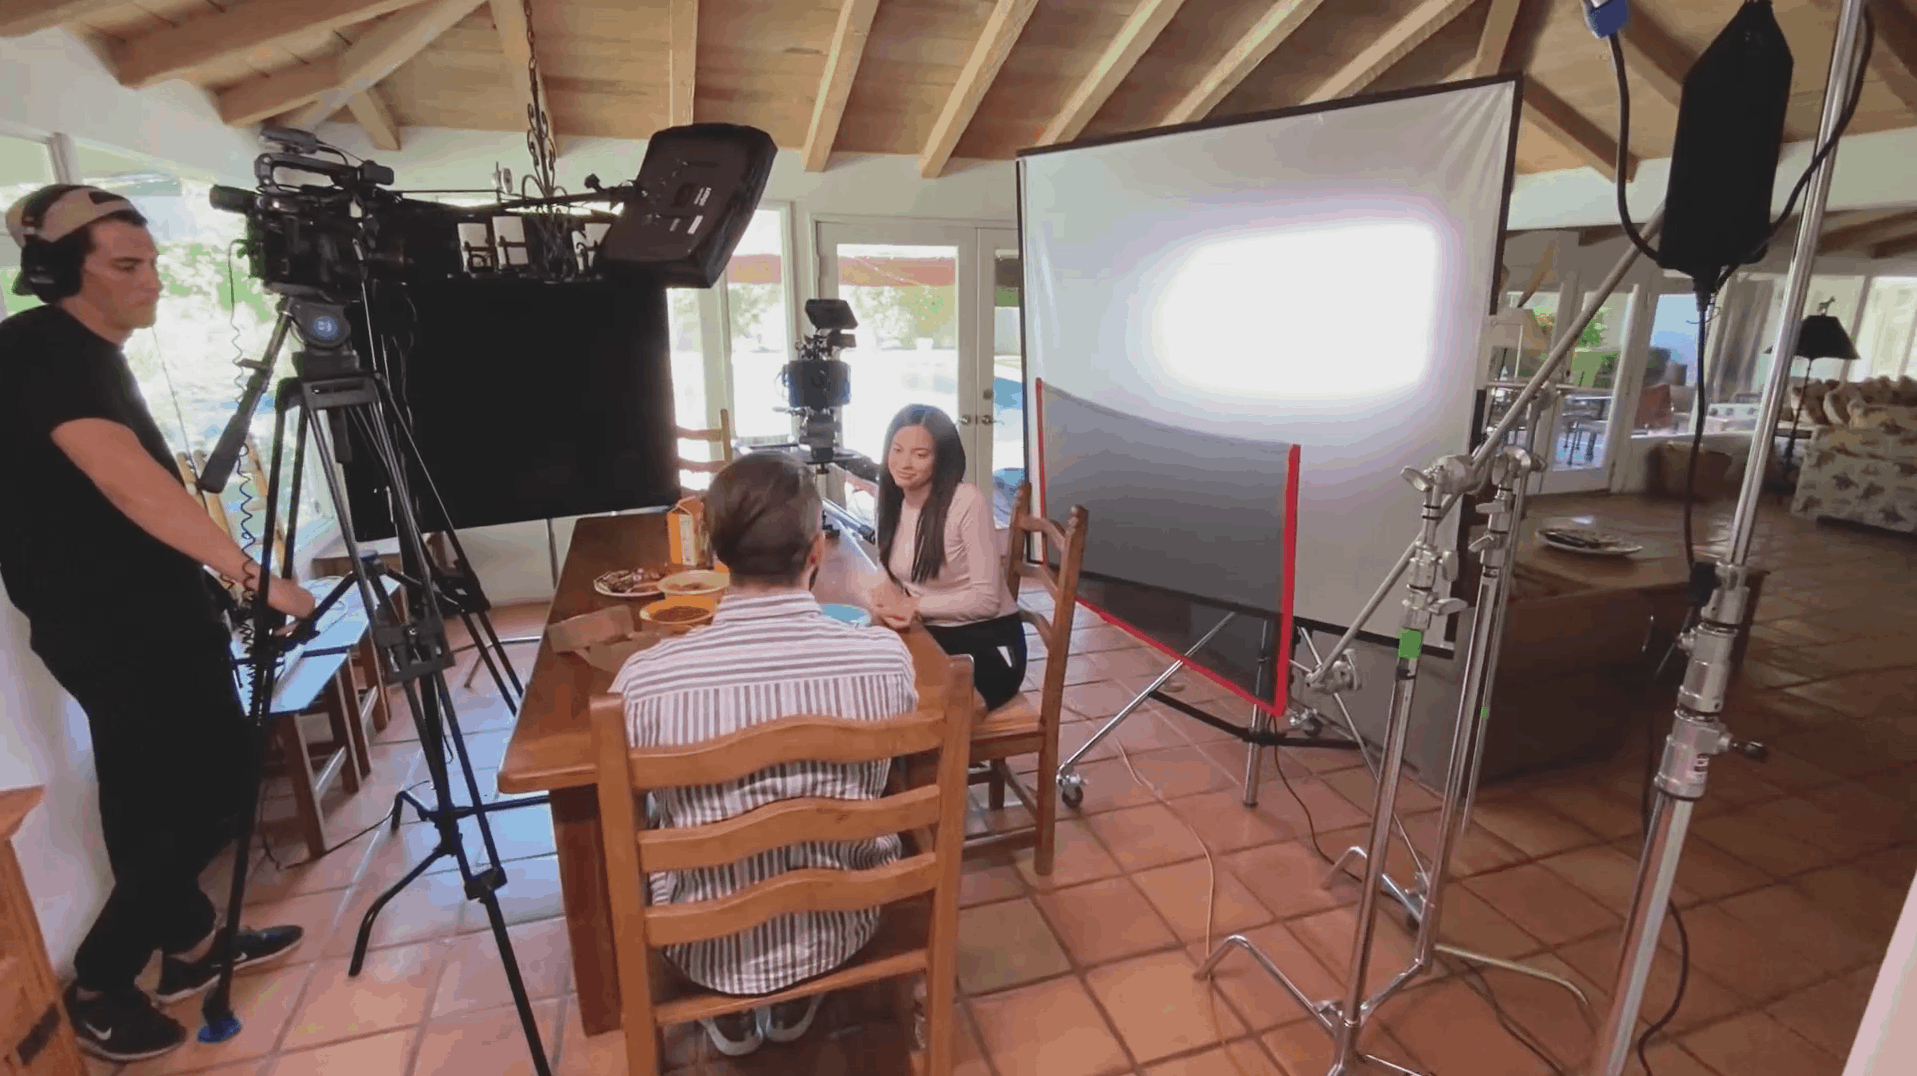
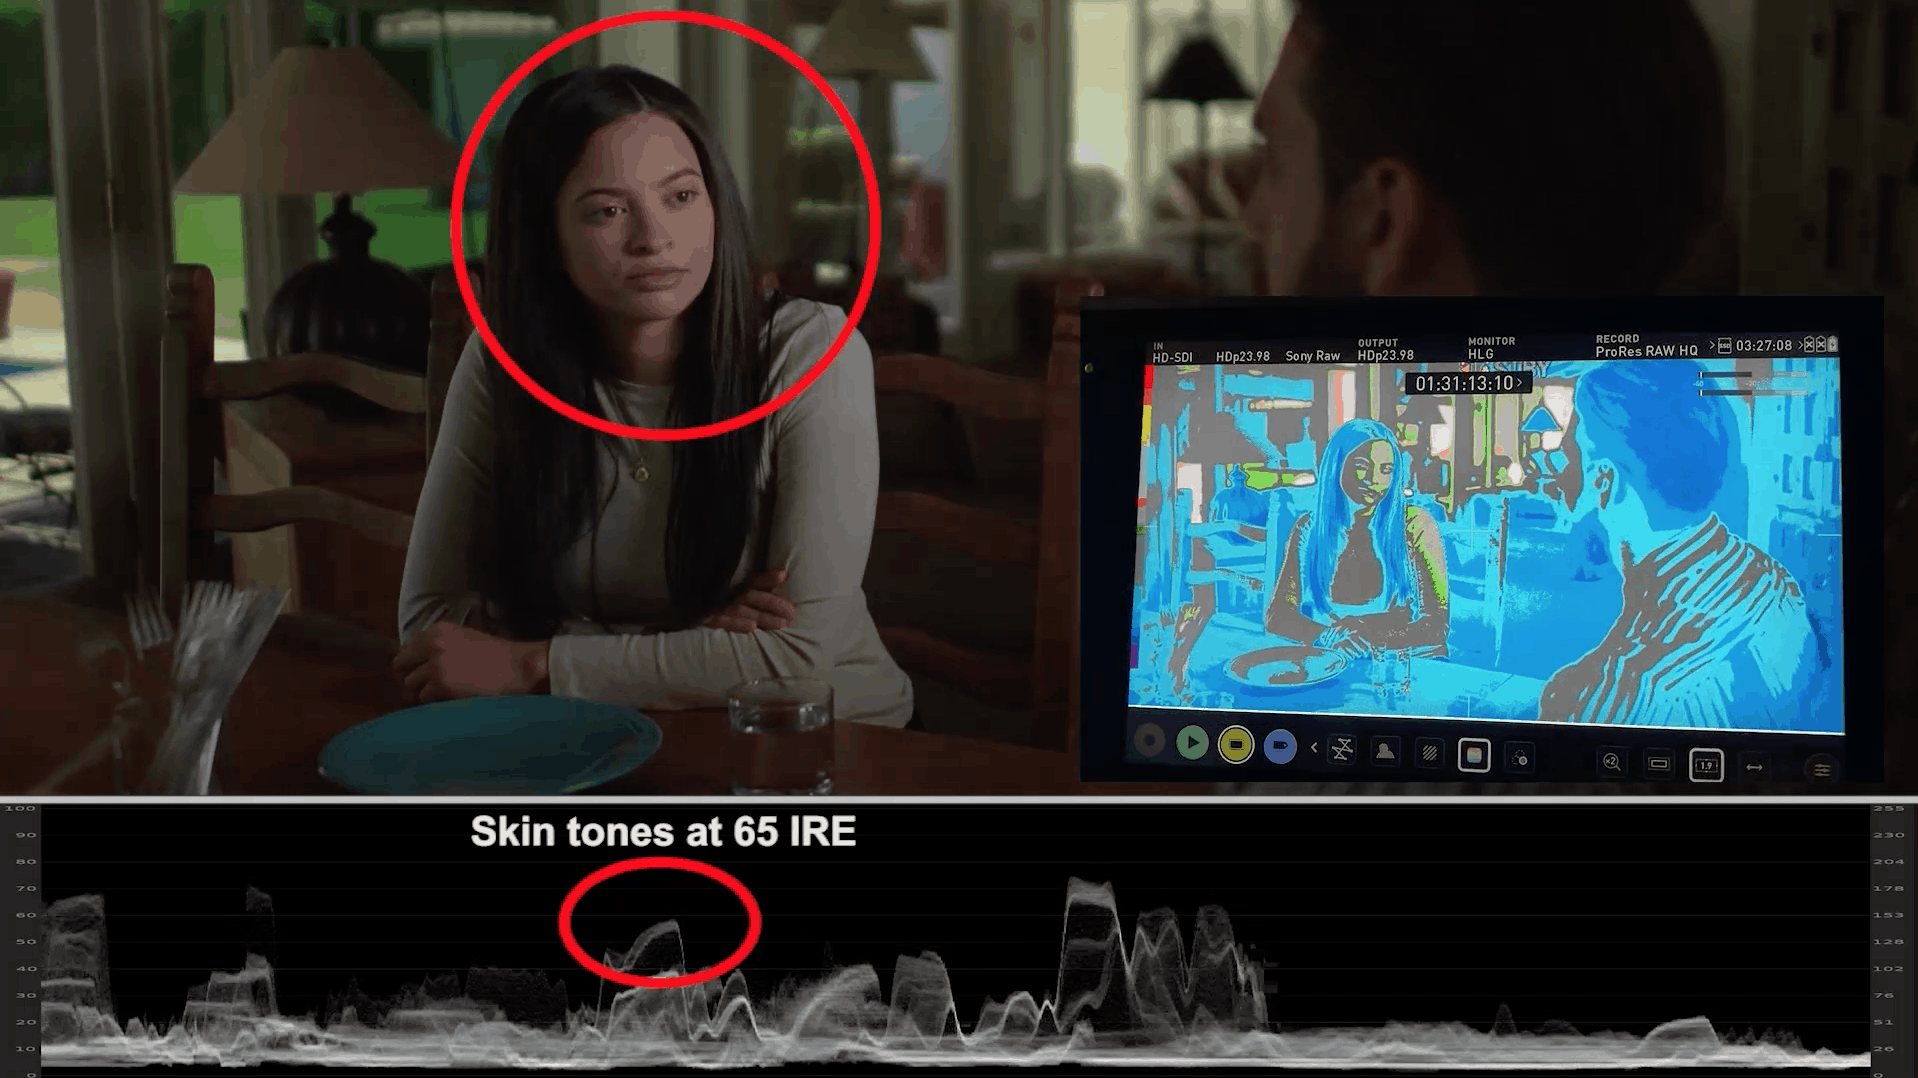
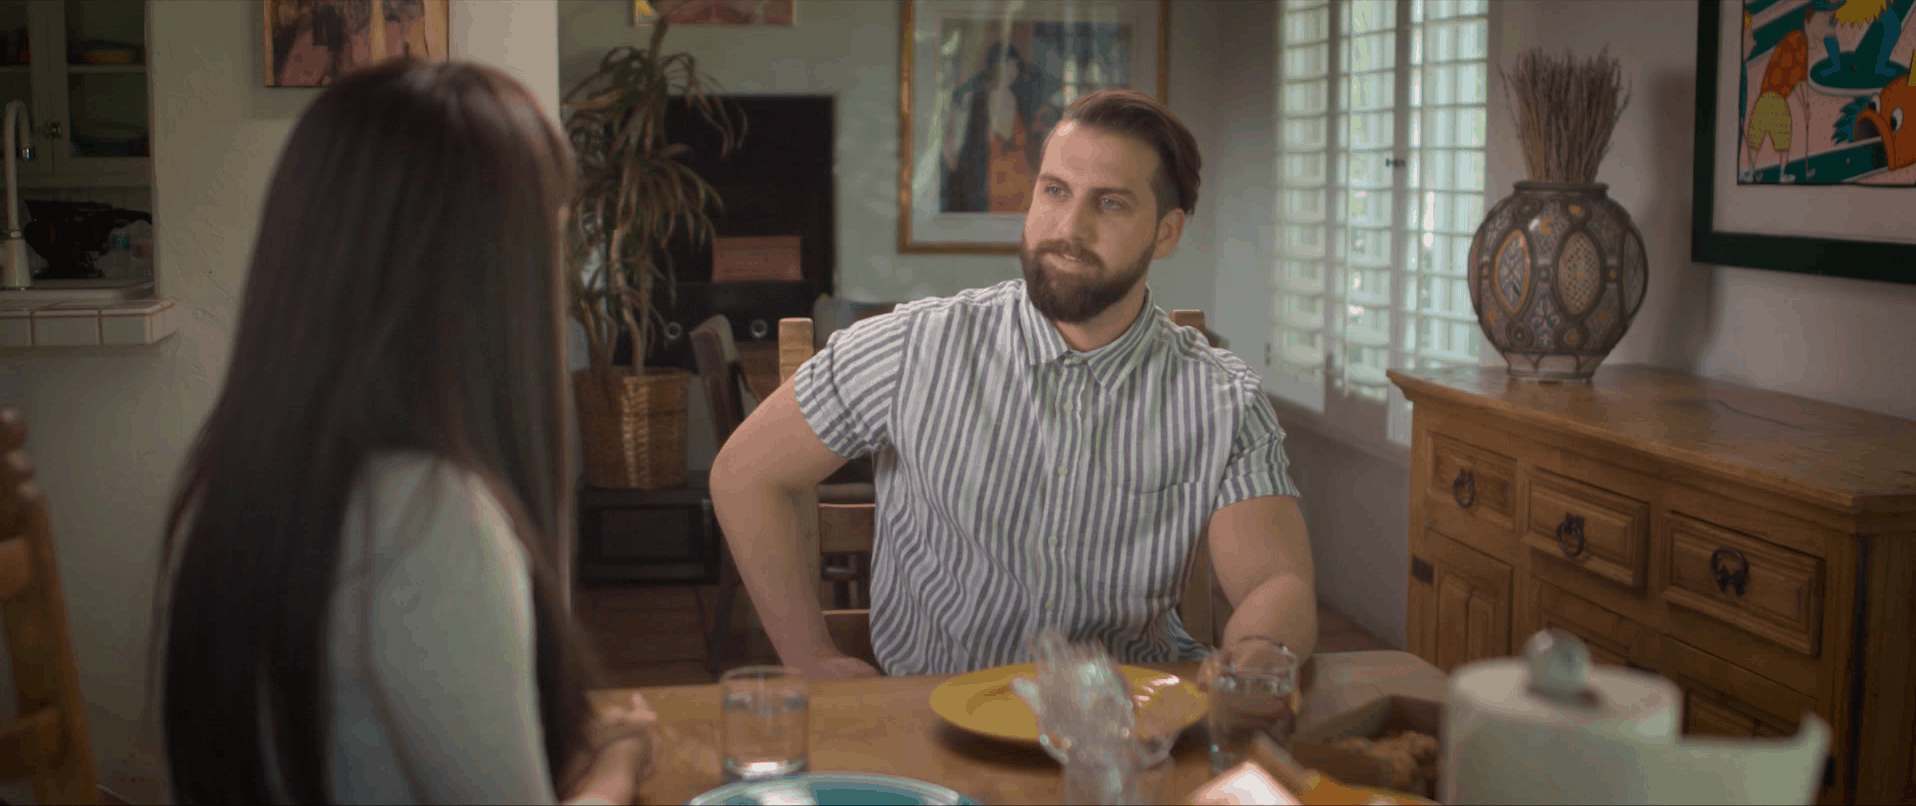
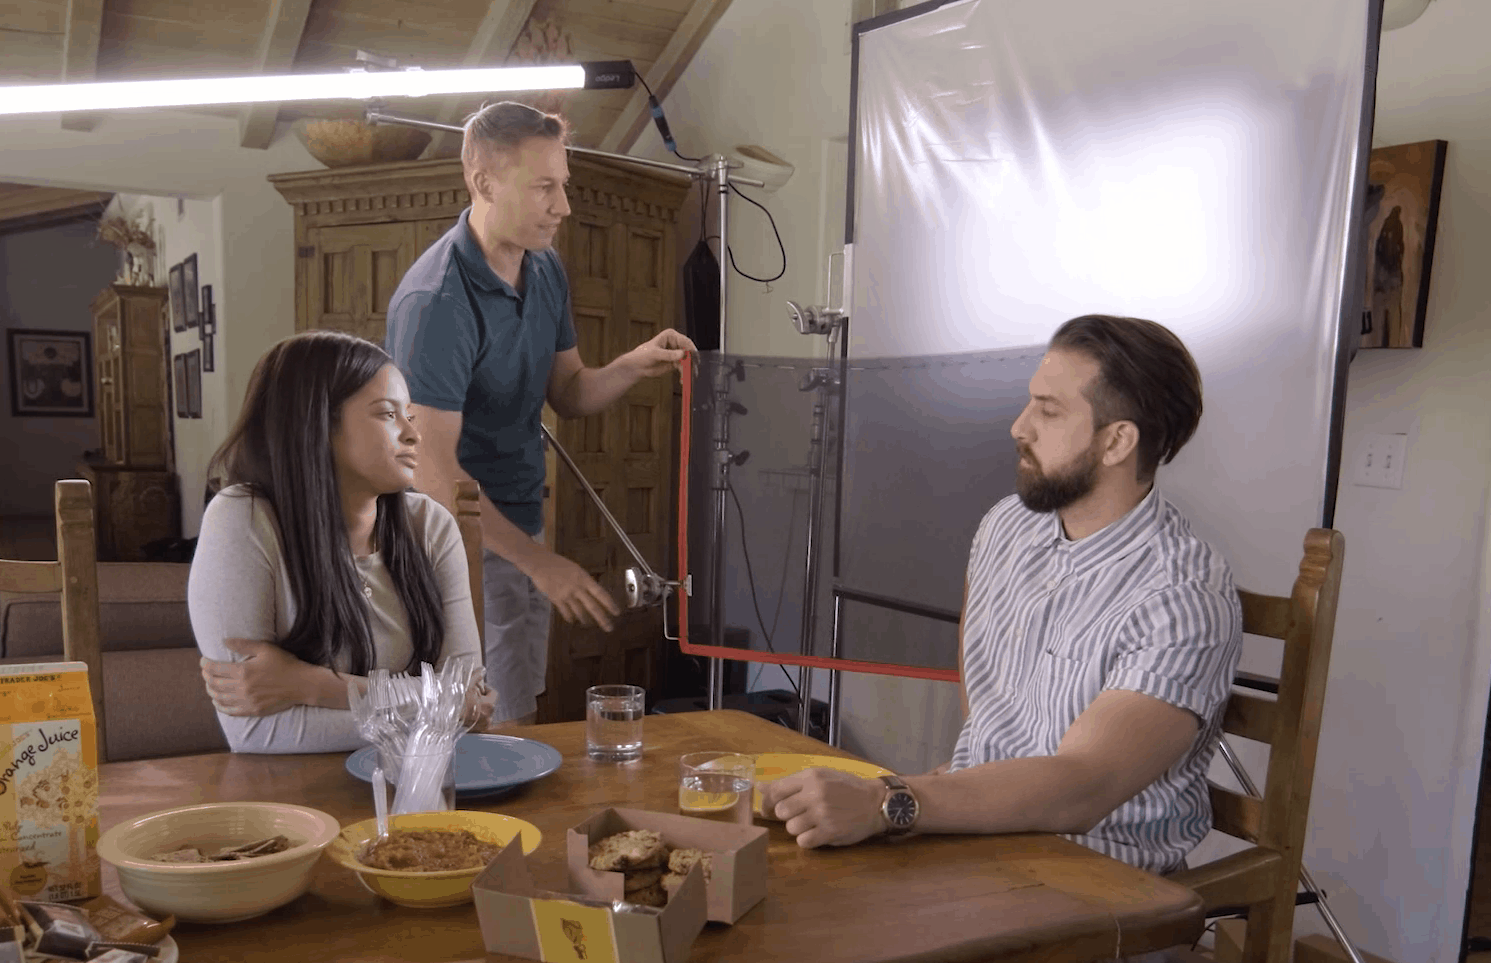
Students learn how to address exposure issues when shooting on location with windows, how to gel windows, balance exposure, and create natural, motivated lighting.
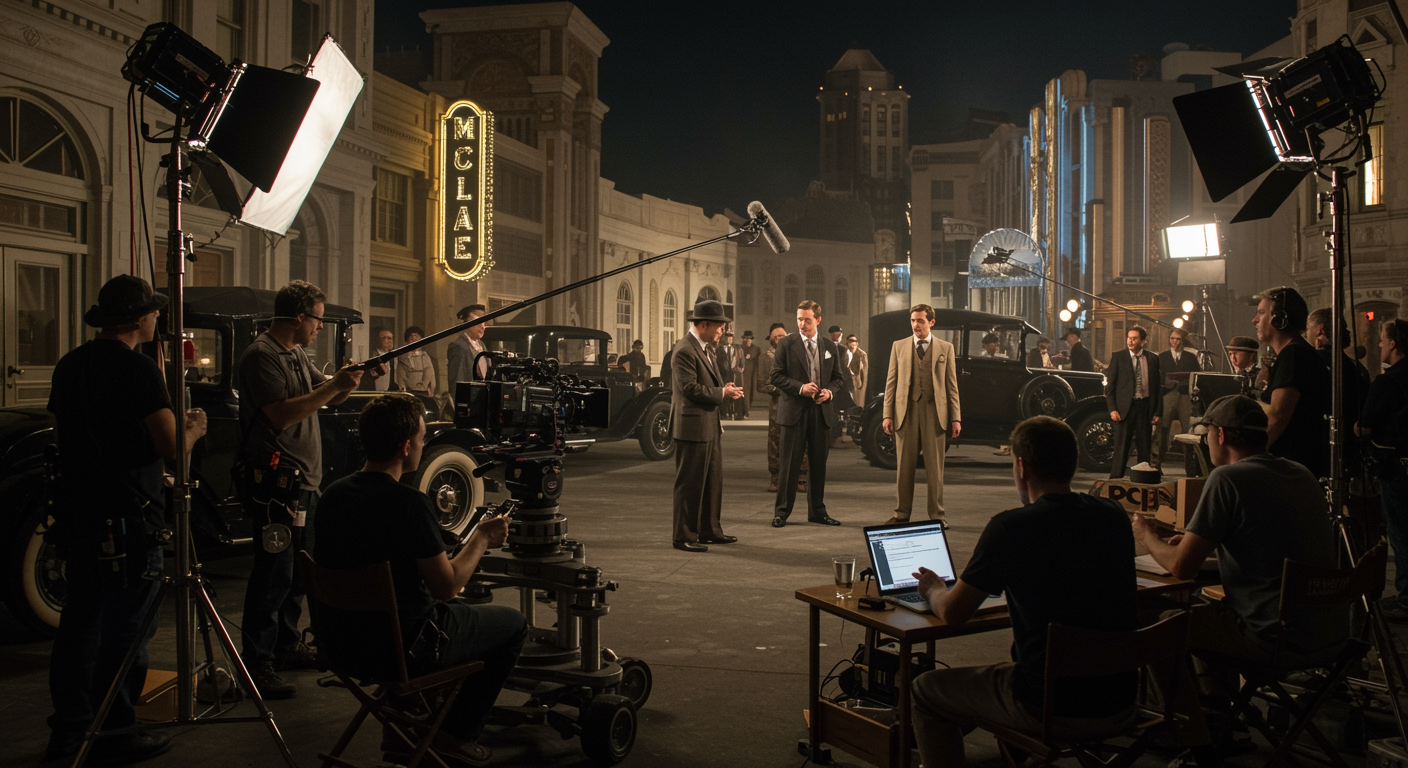
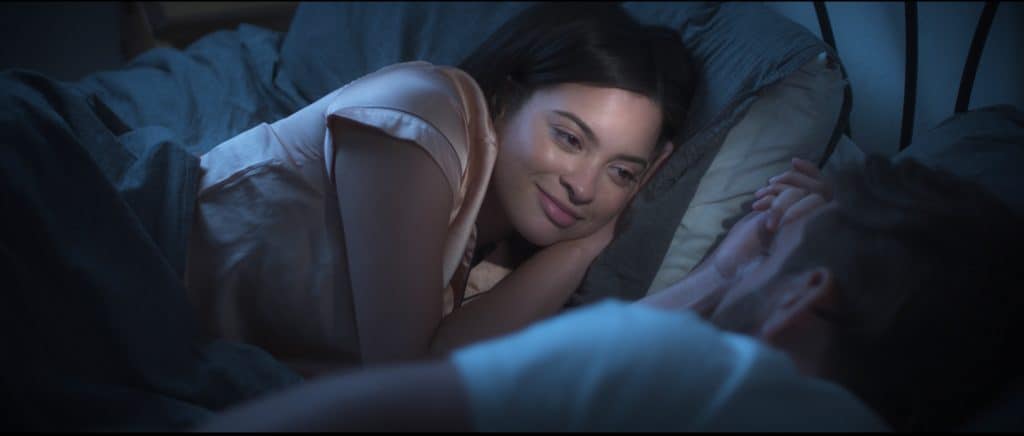
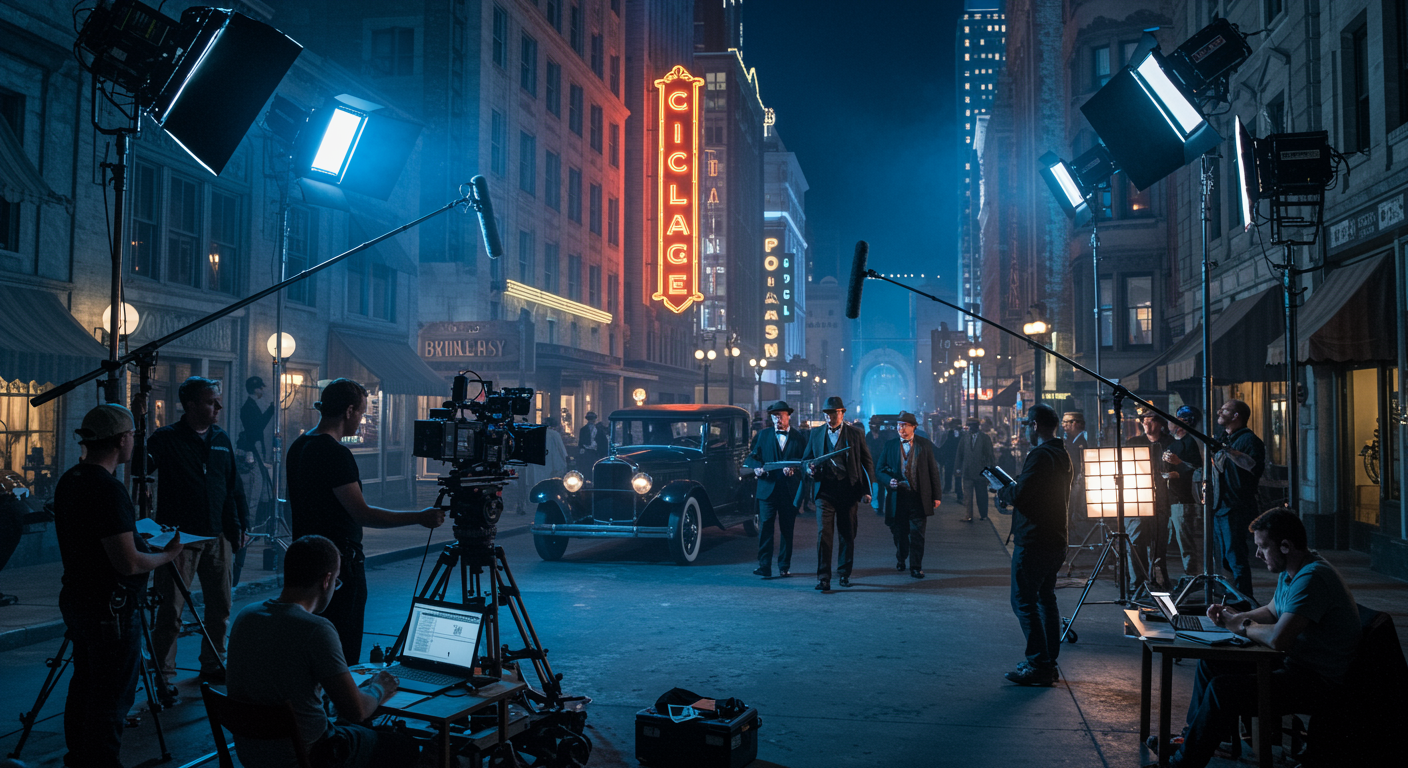
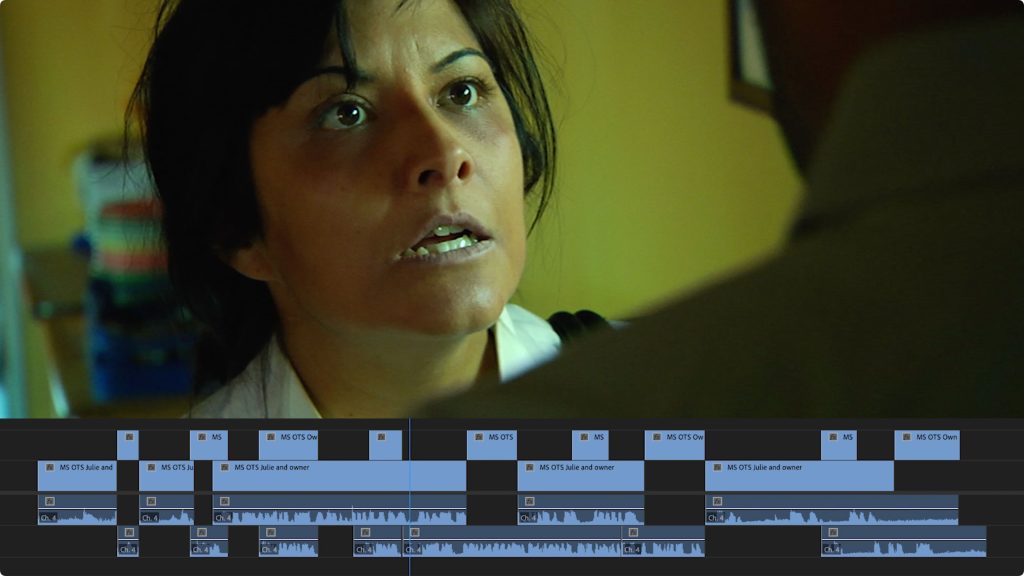
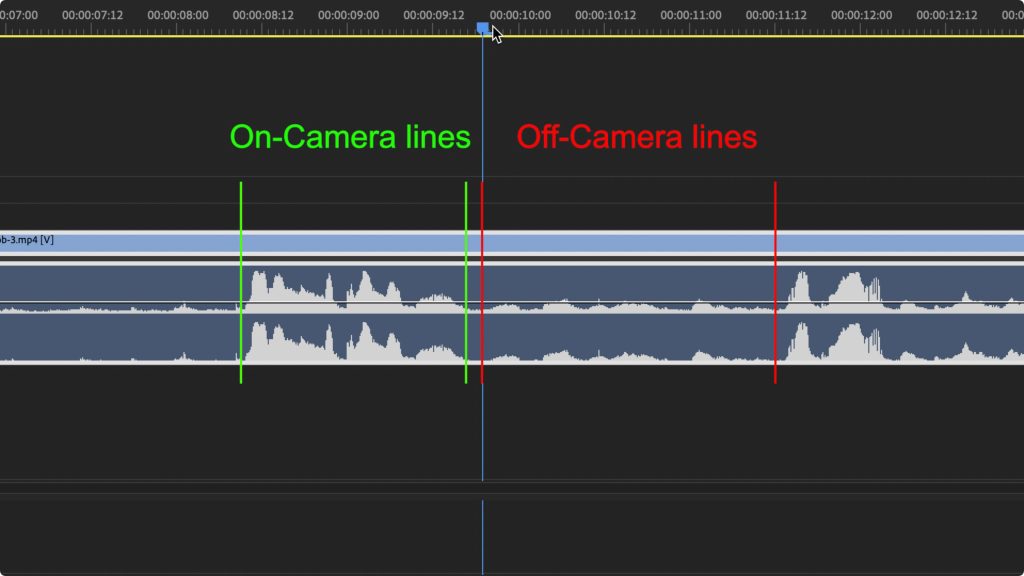
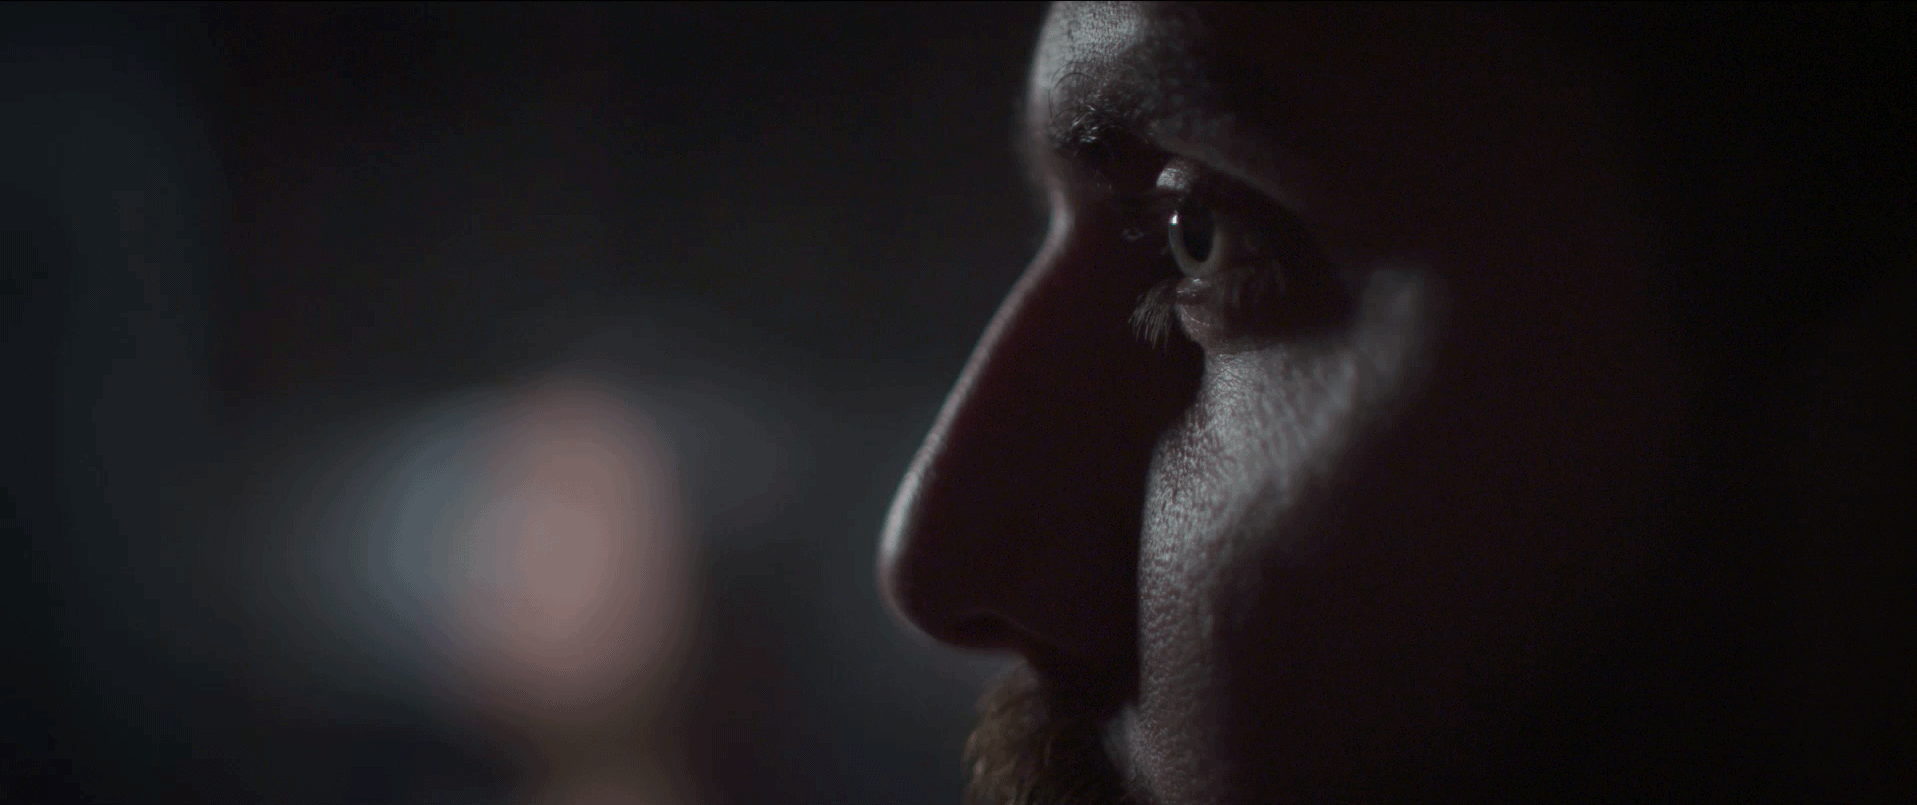
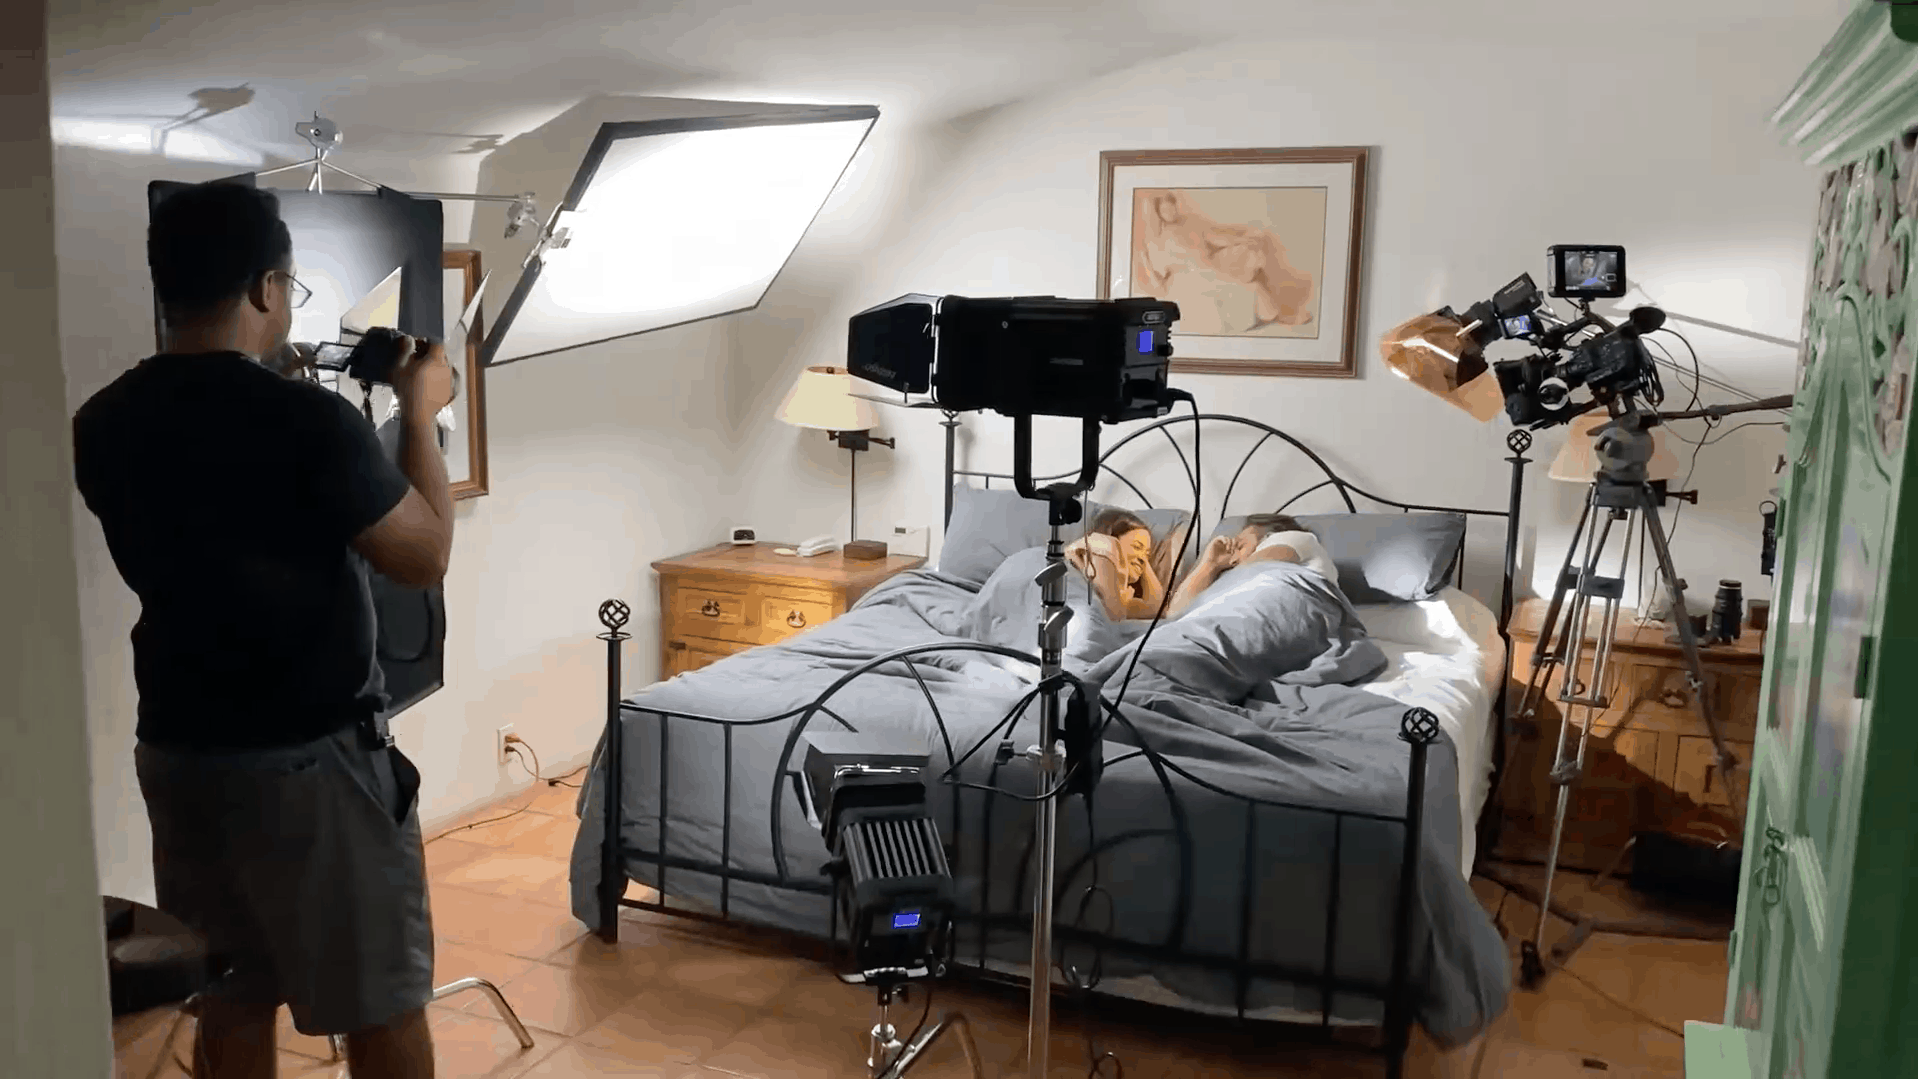
Students learn how to shoot dialogue scene between two people at night, on location. Covering both his and her shots, this tutorial guides students through the blocking, composition, and lighting decisions behind creating a cinematic night scene.
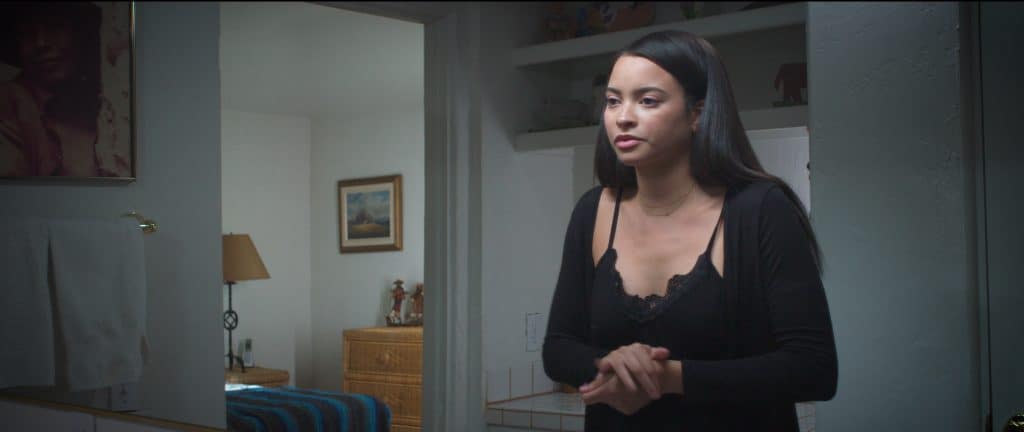
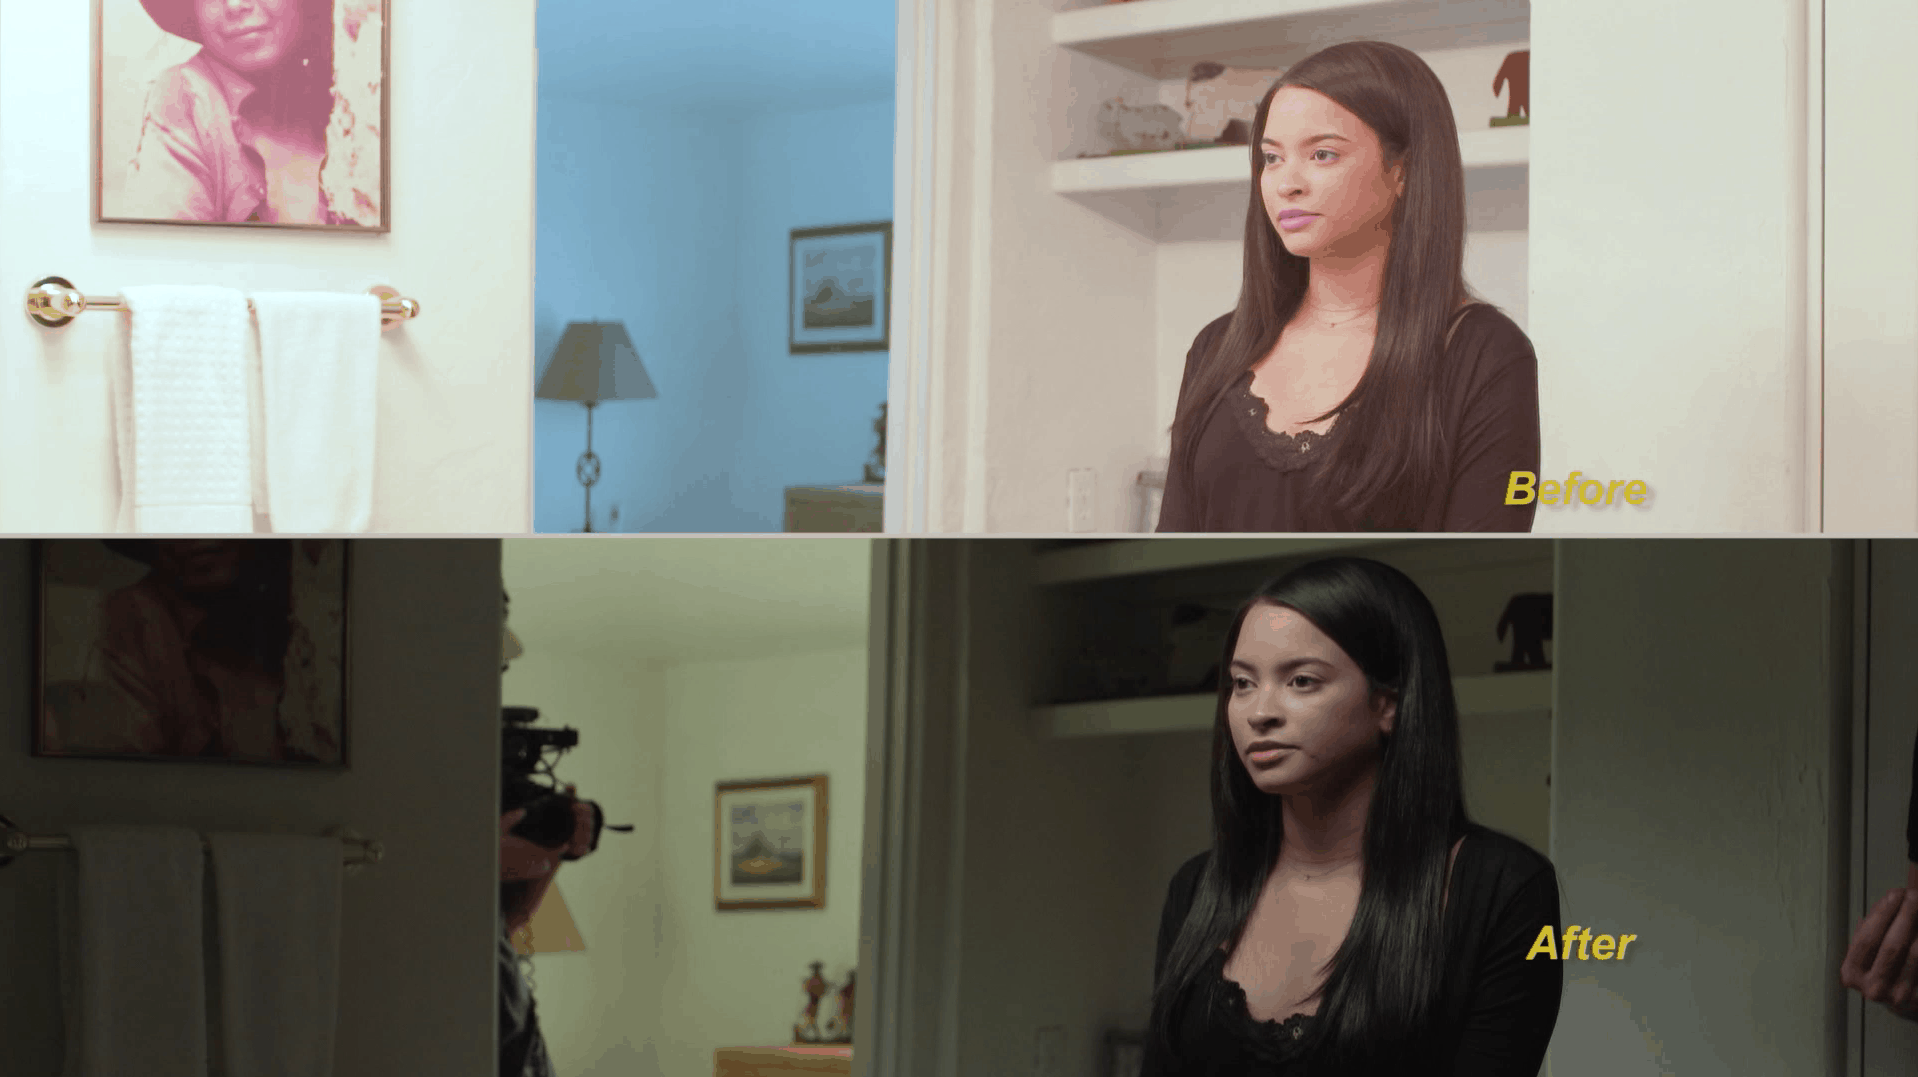
Shooting in a small, confined space like a bathroom creates a range of production challenges, which we systematically address in this engaging tutorial. From a simple bathroom to a dramatic shot, students learn how to achieve the desired look on set.
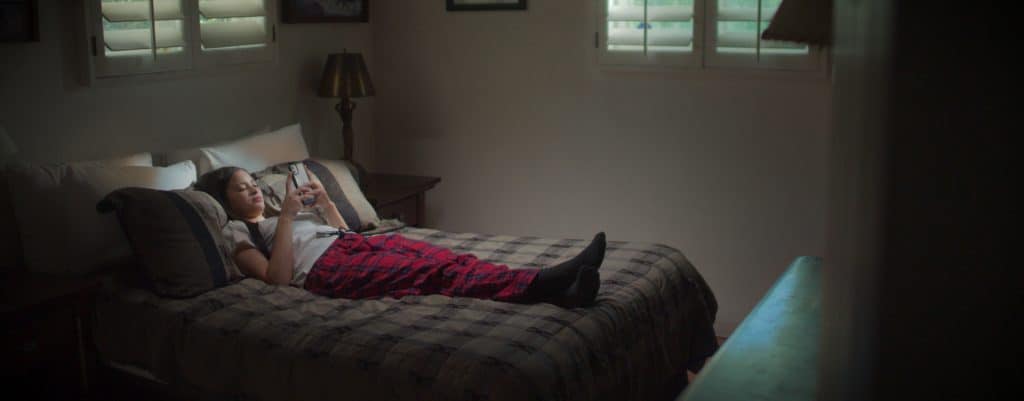
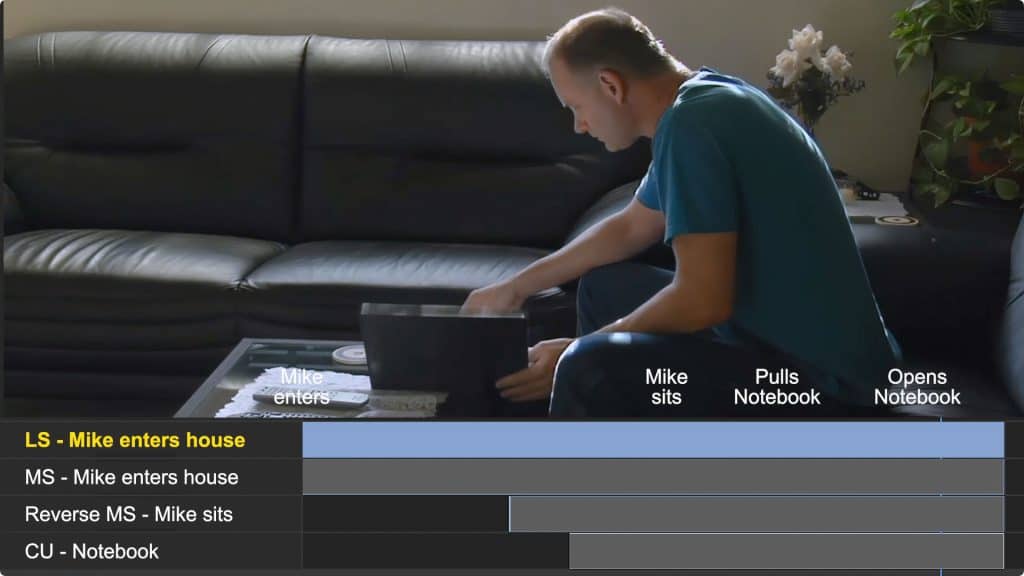
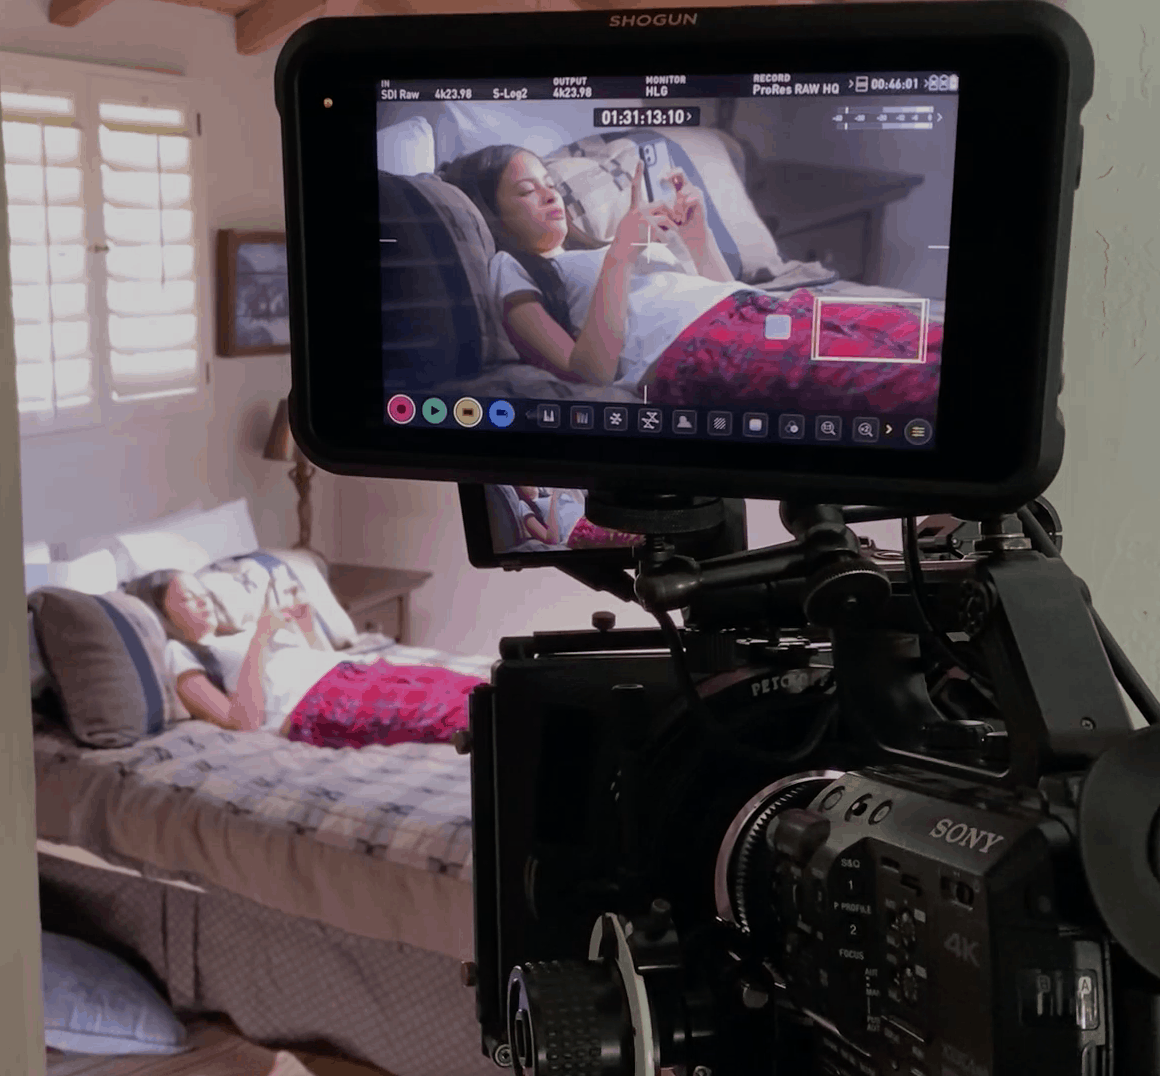
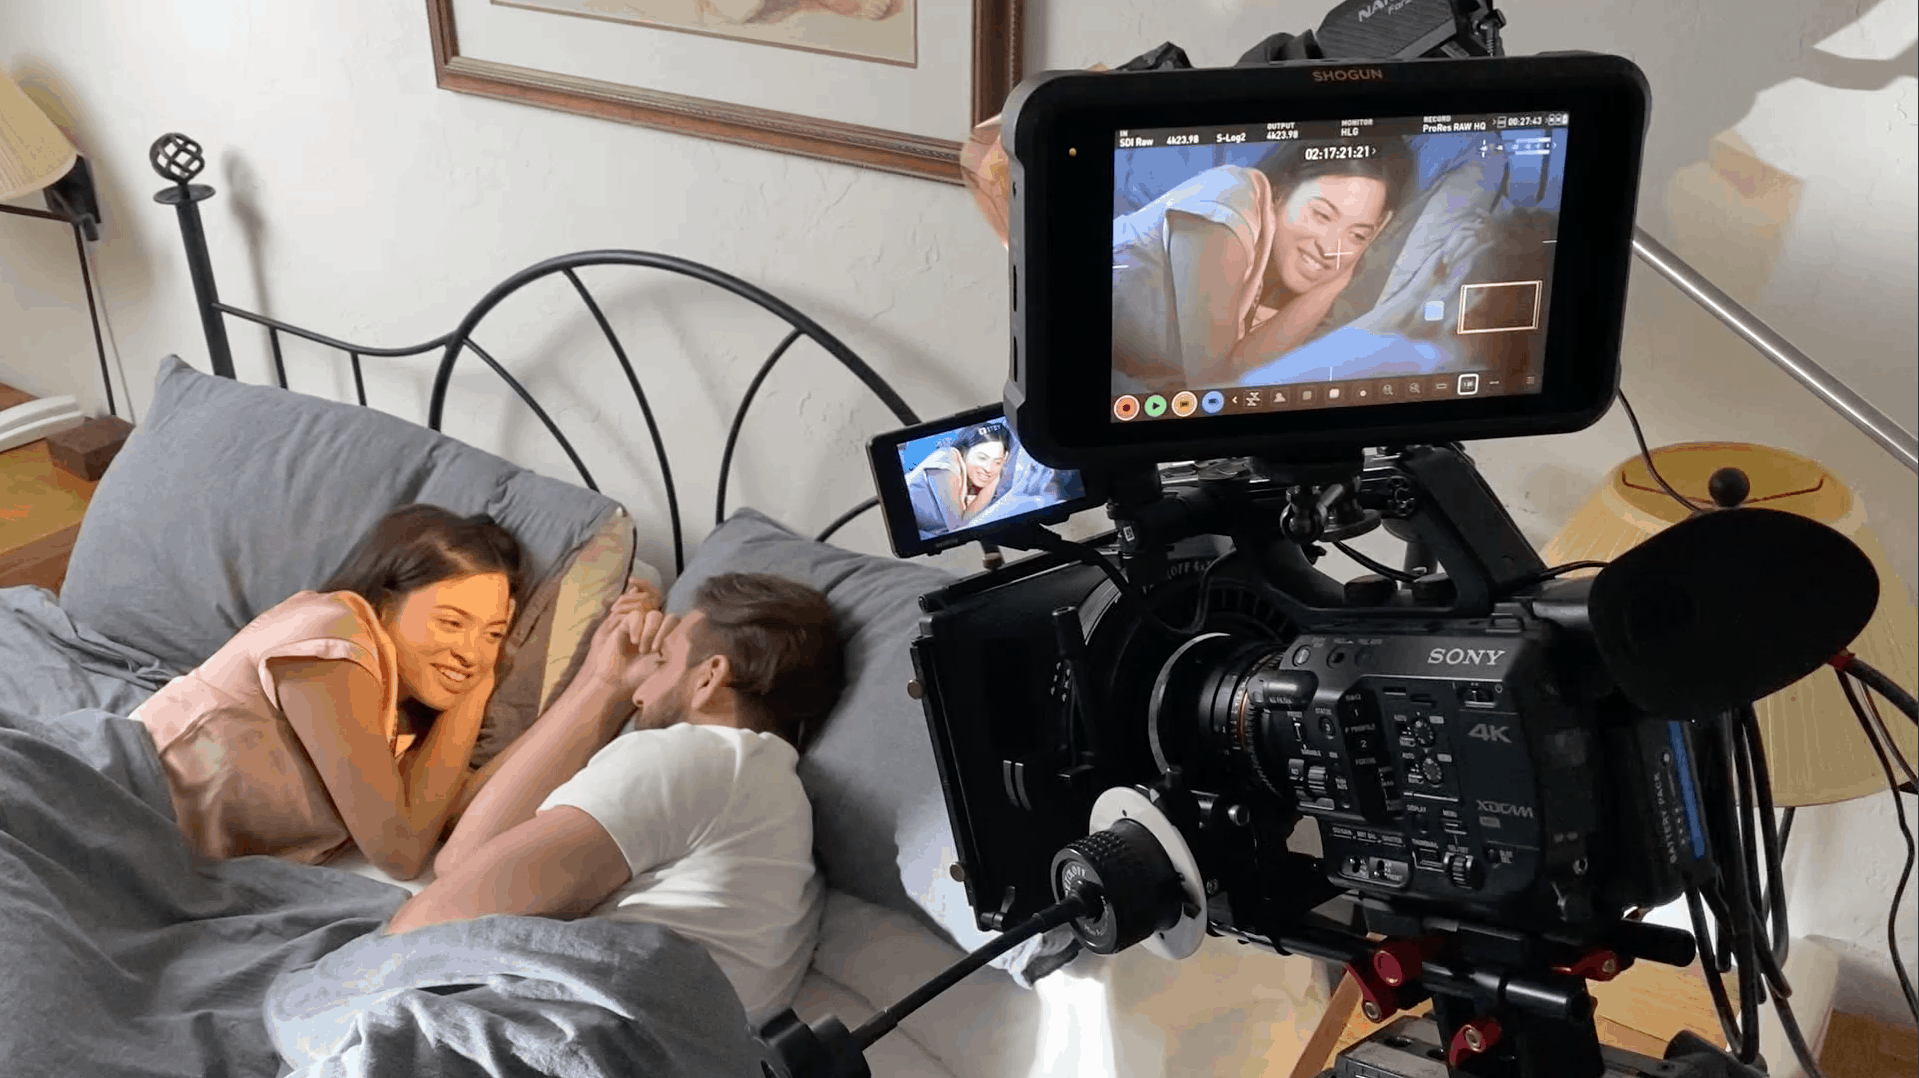
Students learn how to create a sculpted light in a bedroom interior during the day. In this lesson, students learn how to balance exposure between the subject and outside sunlight, all while creating a cinematic look.

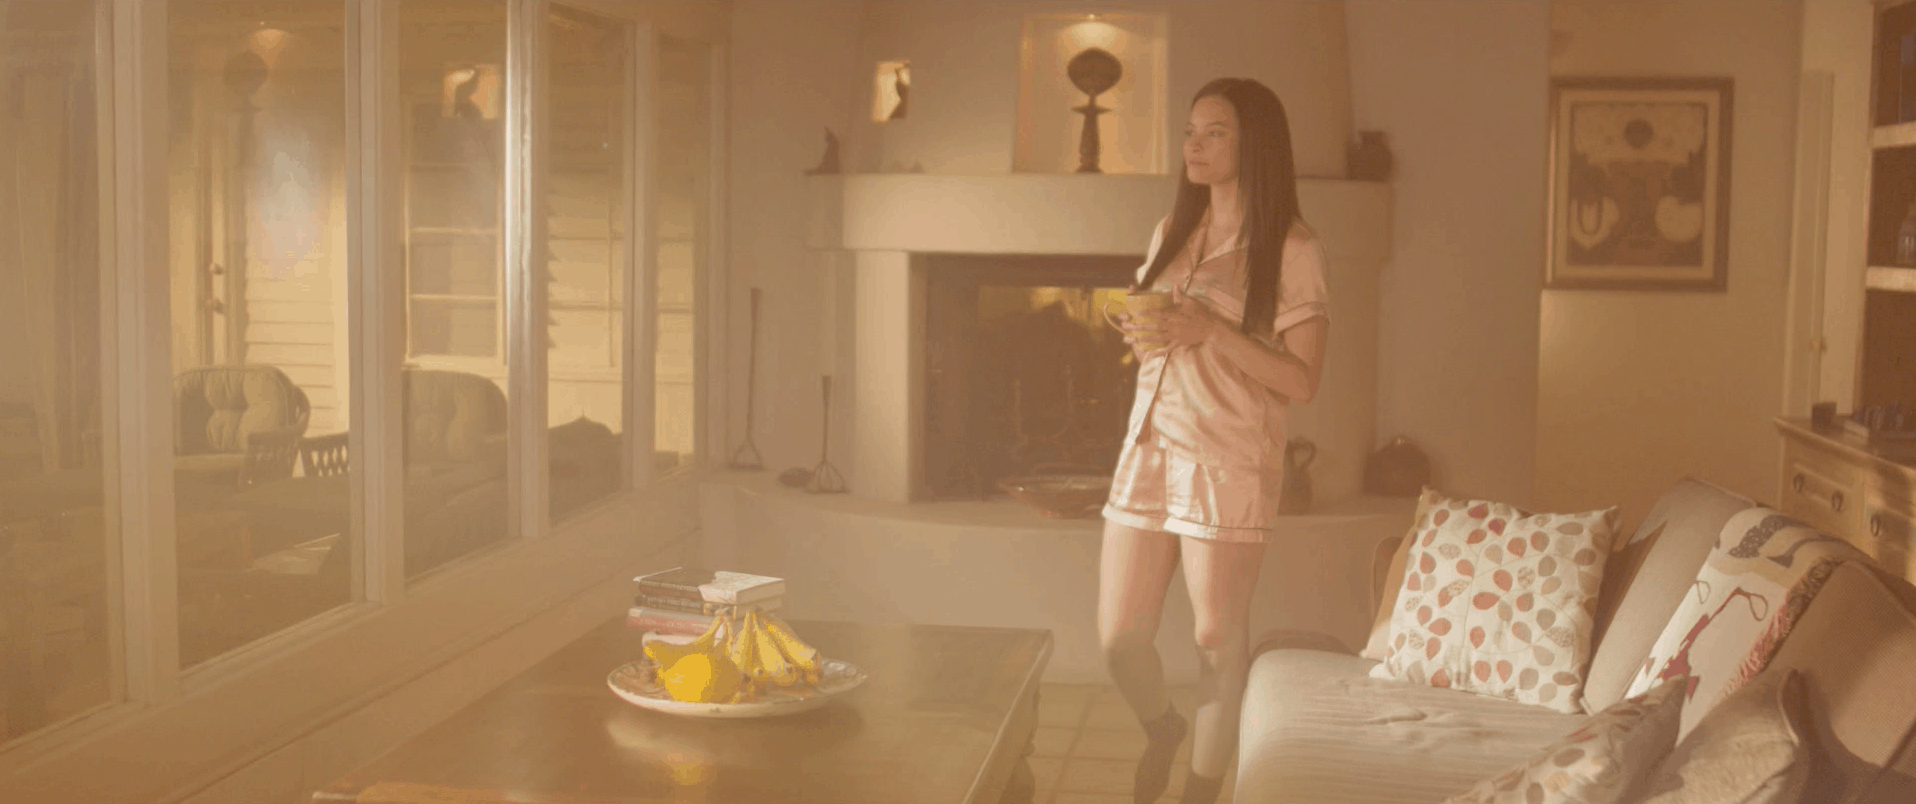
In this on-location tutorial, students learn how to create a morning light on a nighttime set. From working with haze and creating volumetric light, students learn to block and light for a cinematic look.
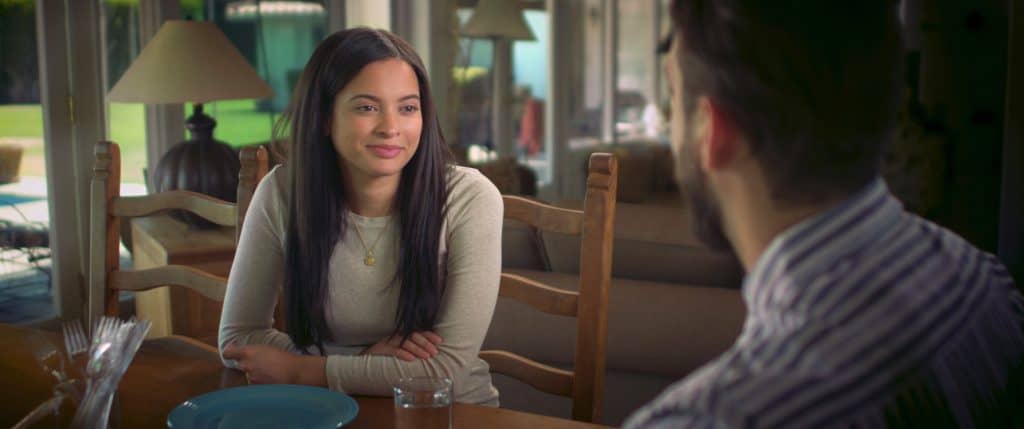
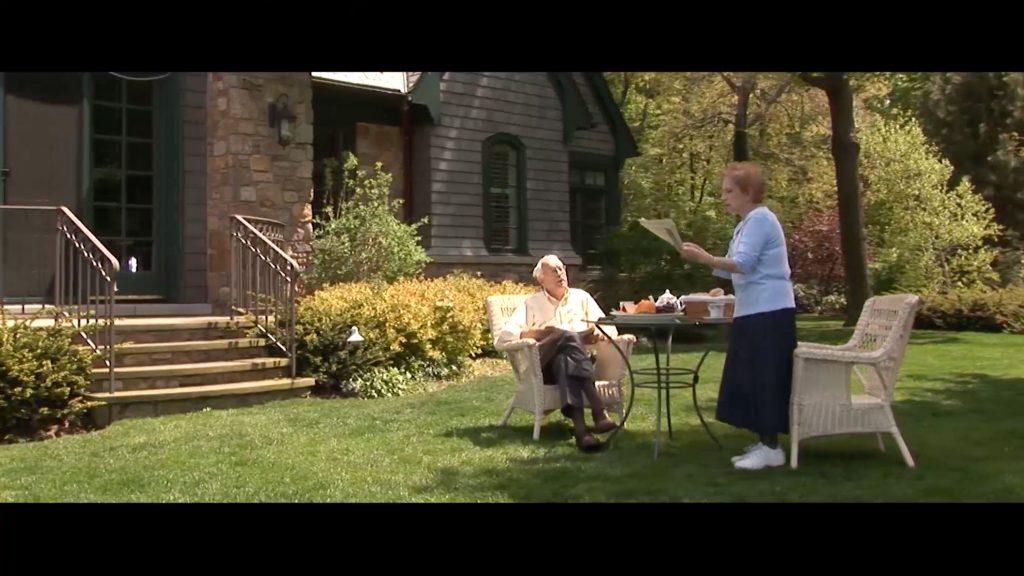
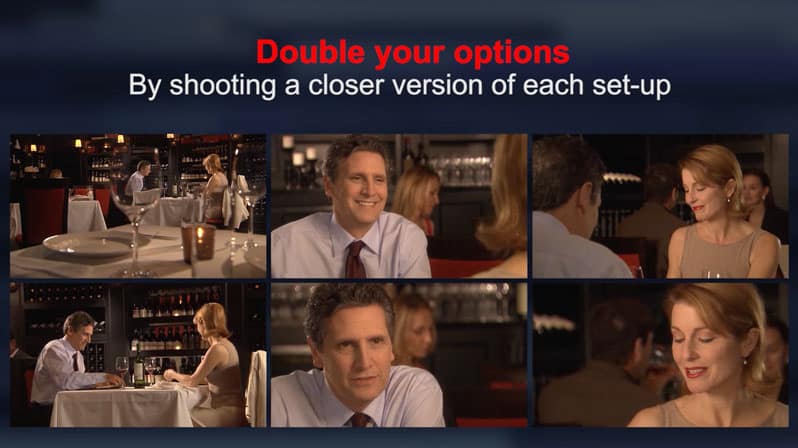
One of the most common scenes in a student production is the interior dialogue scene. Students learn how to address exposure issues when shooting on location with windows, how to gel windows, balance exposure, and create natural, motivated lighting.
In this tutorial, students learn to shoot a realistic night scene that achieves the desired emotional tone, all while producing a clean, noise-free image.
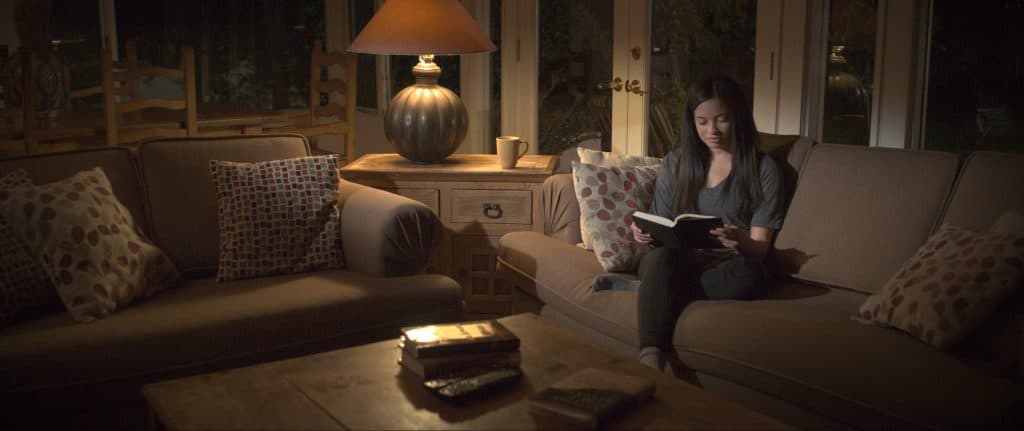
In this lesson, students learn how to light and shoot a scene with practical light fixtures, how to enhance the light so it is motivated, and how to bring the outside into the latitude of the camera


