The process of making a movie is the same as the process of manufacturing any other product, and preparing your film for distribution from day 1 will save you a lot of pain when it comes time to sell it. Research the market, the audience, and what the distributors are looking for before you undertake a production. Most filmmakers spend massive sums of money and time on a movie only to discover that there’s no market for it. Smart moviemaking means figuring out a marketing and distribution plan before you begin preproduction.
- Call and set up meetings with domestic and foreign distributors and ask to talk to a sales rep – The best way to reach them is by attending a film market like the American Film Market in Santa Monica. Held each year, it’s a marketplace where distributors from around the world meet to explore and purchase content from producers. Film markets are the best way to see what is selling and to where.
- Ask distributors what genres are selling and what genres they feel will be hot in a year – For example, the horror genre is generally a consistent seller in the foreign market, is cheap to produce, and doesn’t require big name actors in the cast. Action-driven movies are less reliant on the dialogue, so even if the audience doesn’t follow the nuances of the performances, the action will be enough to sell the film.
- Find out which actors you should approach to help increase the marketability of the movie – Which actors are bringing in the largest sales of independent movies in the foreign market? Some actors perform better in different markets, and producers know this. Smart casting is not just about finding the right actors to play the part, but finding actors who can attract crowds in popular markets like Germany, latin America, Japan, and China.
- Find out what format distributors prefer – Each distributor will require slightly different delivery specifications, be it 35 mm film, an HD, or digital format. This will help you decide the best camera and format on which to shoot your film.
- What is the ideal length for the movie? –Many distributors prefer a movie around 90 minutes in length, simply because movie theaters can fit more movies into the daily schedule, thereby increasing audience turnaround, and profits.
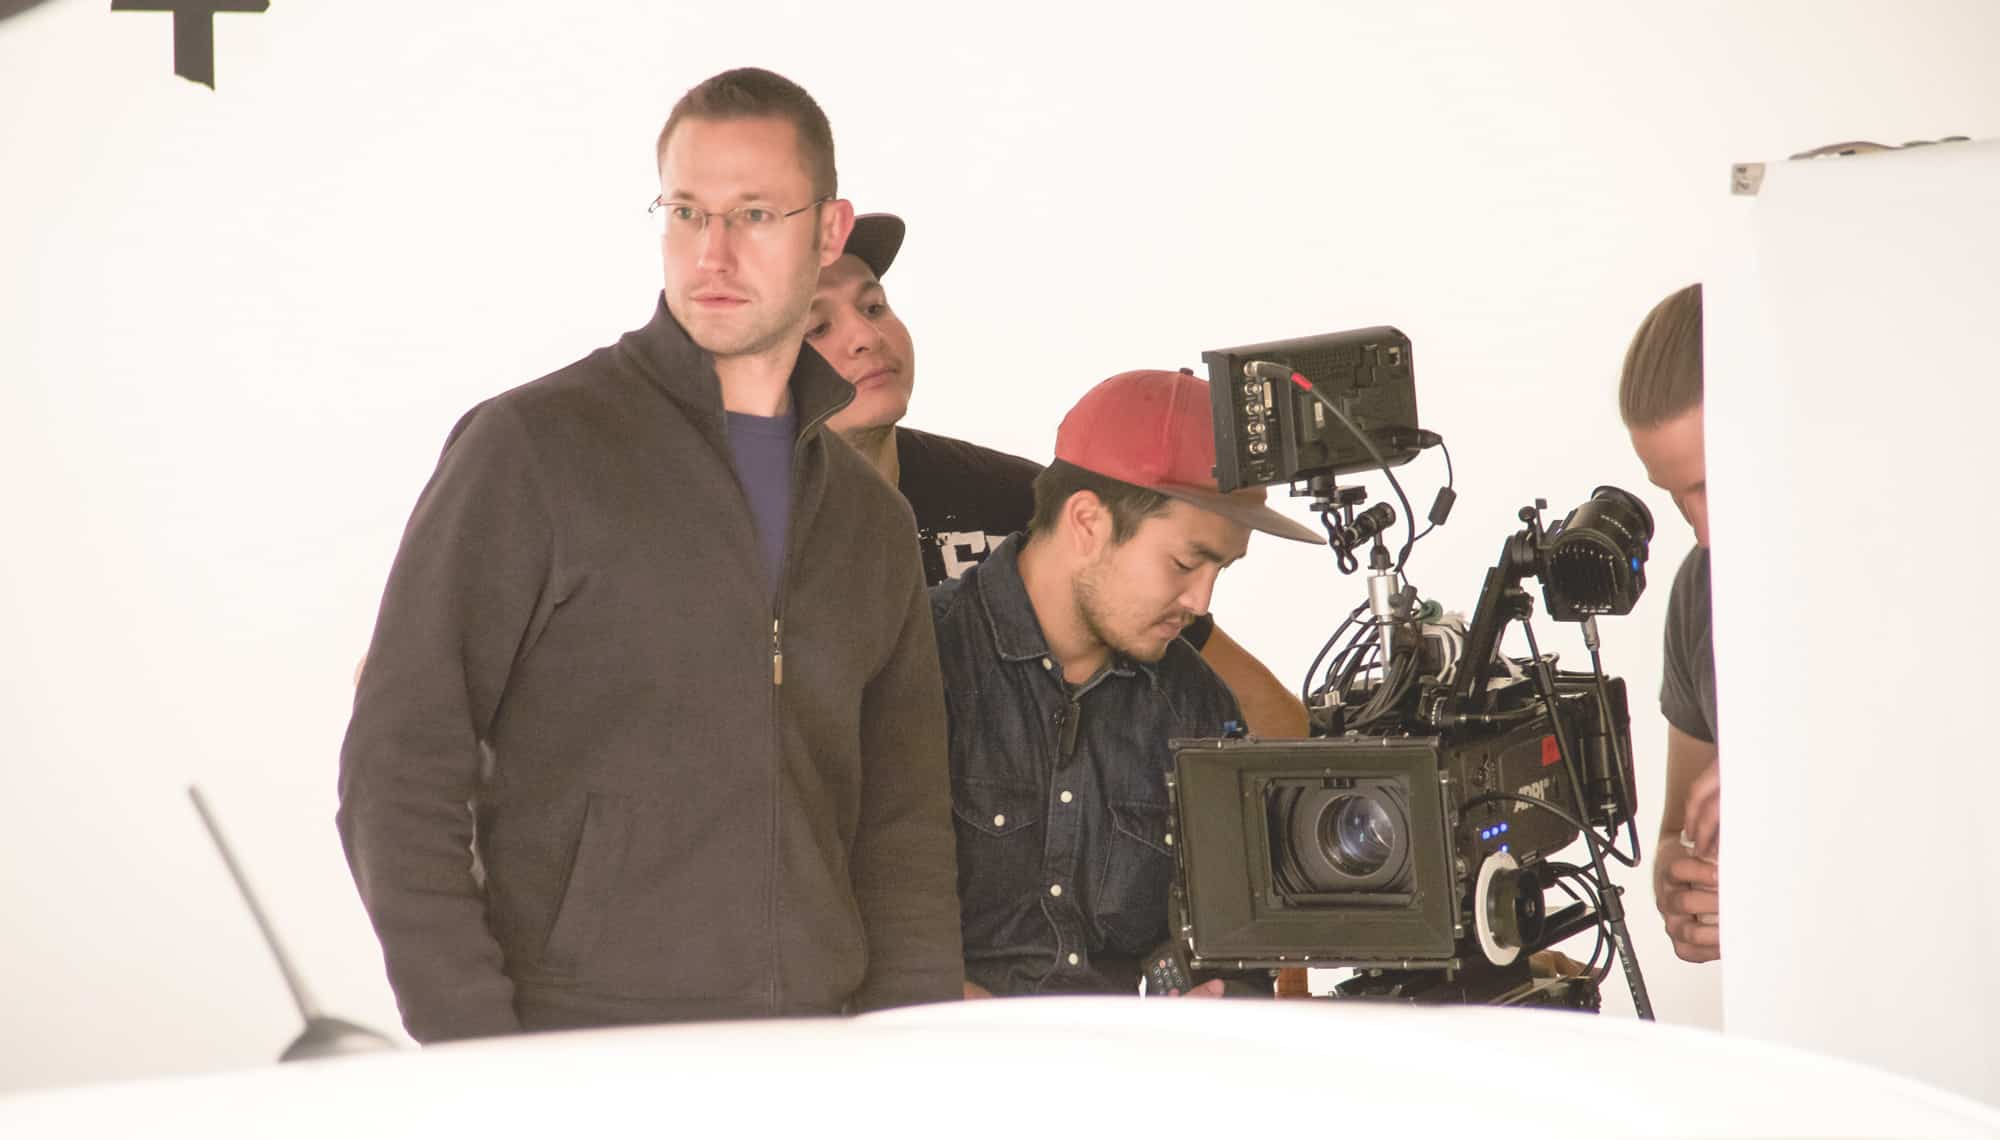
- What marketing materials should you collect during production to help in the distribution of the movie? It’s critical to start shooting behind-the-scene stills, videos on set, interviews of the cast and crew, and assembling bloopers for social media. Not only can you start building hype in the film during production, but these materials will come in handy when you send out press releases.
- What are the average sales prices for the type of movie you’re making – By analyzing how much movies of a similar genre perform in the market, you can calculate the budget and determine how much money you should spend. Basically, you want to keep you budget low enough to ensure you see a return on your investment.
The rules of producing and selling a movie are a lot like the rules governing the game of basketball. Each player must acknowledge and understand the parameters, the size of the court, the height and diameter of the hoop, the number of players on each side, and the time restrictions for an organized game to take place. Whereas some may find these rules limiting, many talented athletes have excelled at the game, even when playing within the guidelines. The same philosophy applies to the production of a movie, in that filmmakers must follow the distributor’s strict guidelines governing the content, format, casting, and genre for the film to be commercially viable. Using a little creativity and talent, filmmakers can certainly succeed within a distributor’s rules. Remember that the film industry is a business designed to make a product that sells and makes a profit.
Learn More at FilmSkills |
|
|---|---|
 |
Introduction to DistributionNow that your movie is finished, it’s time to sell it and begin generating revenue. But this is easier said than done – the costs of distribution, marketability of your project, and dozens of other factors will impact the price you receive.
In this module you will learn how the distribution process works, the way studios approach the process, the windows and time frames of distribution, how to approach self-distribution, and knowing your audience. Guiding you through these tricky waters are veteran studio executives from LucasFilm, Sony, and FreeMantle Media. Unlock the distribution process so you can get the most for your movie. |
 |
Domestic DistributionMaking the film is only one part of the process. Selling it is the other. Whereas making the movie has been a stressful process, the game of finding a distributor, negotiating the contracts, preparing the deliverables, and facing the sometimes staggering costs of E&O insurance, conversions, and M&E mixes hit most filmmakers by surprise.
In this module, we will prepare you for the distribution process so you know what to expect, what materials are needed, and most importantly how to protect yourself in the high stakes game of film distribution. |
 |
Foreign DistributionSelling your movie in the United States is only part of distribution. Now, it’s time to sell your movie to the rest of the world, and in doing so navigate the challenging path to making money in the foreign market. With thousands of films produced and marketed every year, foreign distributors are faced with more choices than ever before. Knowing how this process works can put you at a tremendous advantage.
In this module, you will learn how foreign sales agents work, how to find a reputable agent, common scams used to steal your movie without paying you, what you will be expected to deliver, how to collect your money, and hundreds of other tips. We take you to the heart of it all at the American Film Market to see – firsthand, how the foreign distribution process works. Become the smartest person at the negotiating table by learning the process, and make a profit on your movie. |
 |
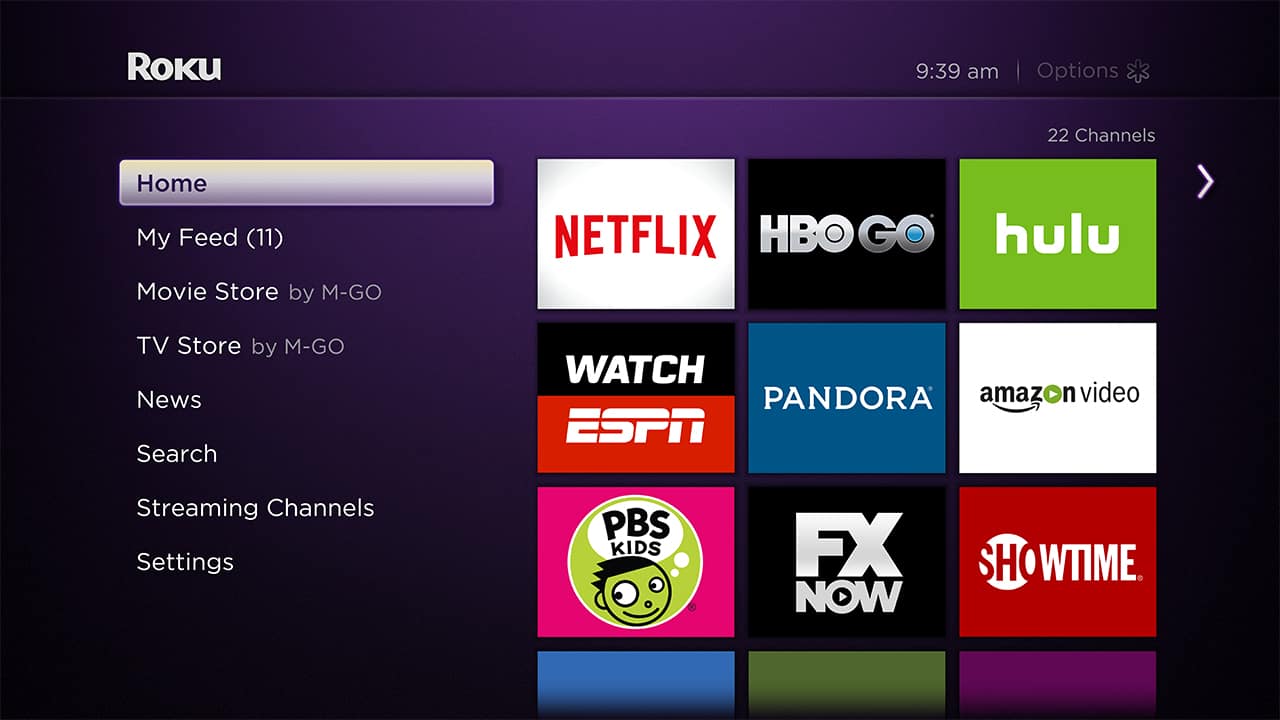
Online DistributionThe Internet has become a powerful alternative to traditional distribution outlets for independent filmmakers, but while this option seems alluring, it is fraught with challenges. Finding a voice and an audience online is a long and expensive road, and while the profit margins can be greater, so can the time and effort you put in for those profits.
In this module you will learn how to properly distribute your movie online, how content aggregators work, how to find a unique presence online, and how to leverage your online movie to get your next movie deal. Invest your time wisely with the best results by learning the right way to approach Internet distribution. |
 |
Film FestivalsWe all dream of an extravagant Sundance Film Festival premiere where we are showered with offers from anxious distributors stepping over each other to acquire our films. While this certainly happens, the reality is that film festivals offer much, much more in the way of contacts, self-promotion, and an opportunity to pitch your next project to investors and producers.
In this module you will learn how to find a qualified producer’s rep, how to get into top film festivals, what to do once you are accepted, how to attract the right audiences at the screenings, and how to leverage the opportunity for your next production. You worked hard, so learn how to maximize you and your film’s exposure at film festivals. |